Building a boler Rock Guard
When we bought our boler last fall, we had no idea what we were doing. Since then, we’ve discovered that one of the things missing was the front window Rock Guard, or Rock Shield, or whatever it’s called.
I thought of building one from fibreglass, but the process would be long, smelly, itchy, and in the end, never look as good as I’d wanted to as well as being flimsy, unless I made a female mould first and used gelcoat. A process not worth a ‘one-off.’
I’d built a teardrop trailer a few years earlier and had some sheet aluminium left over. I used 0.064” (about 1.5mm) thickness of 5052 Standard Industrial Aluminium. It wasn’t very expensive, and even with the recent increase in costs, doubt that a 2 x 4’ piece would be very much. I bought mine from Metal Supermarkets, who is happy to cut it to the size you need, usually while you wait. I’m sure there are other similar stores throughout Canada.
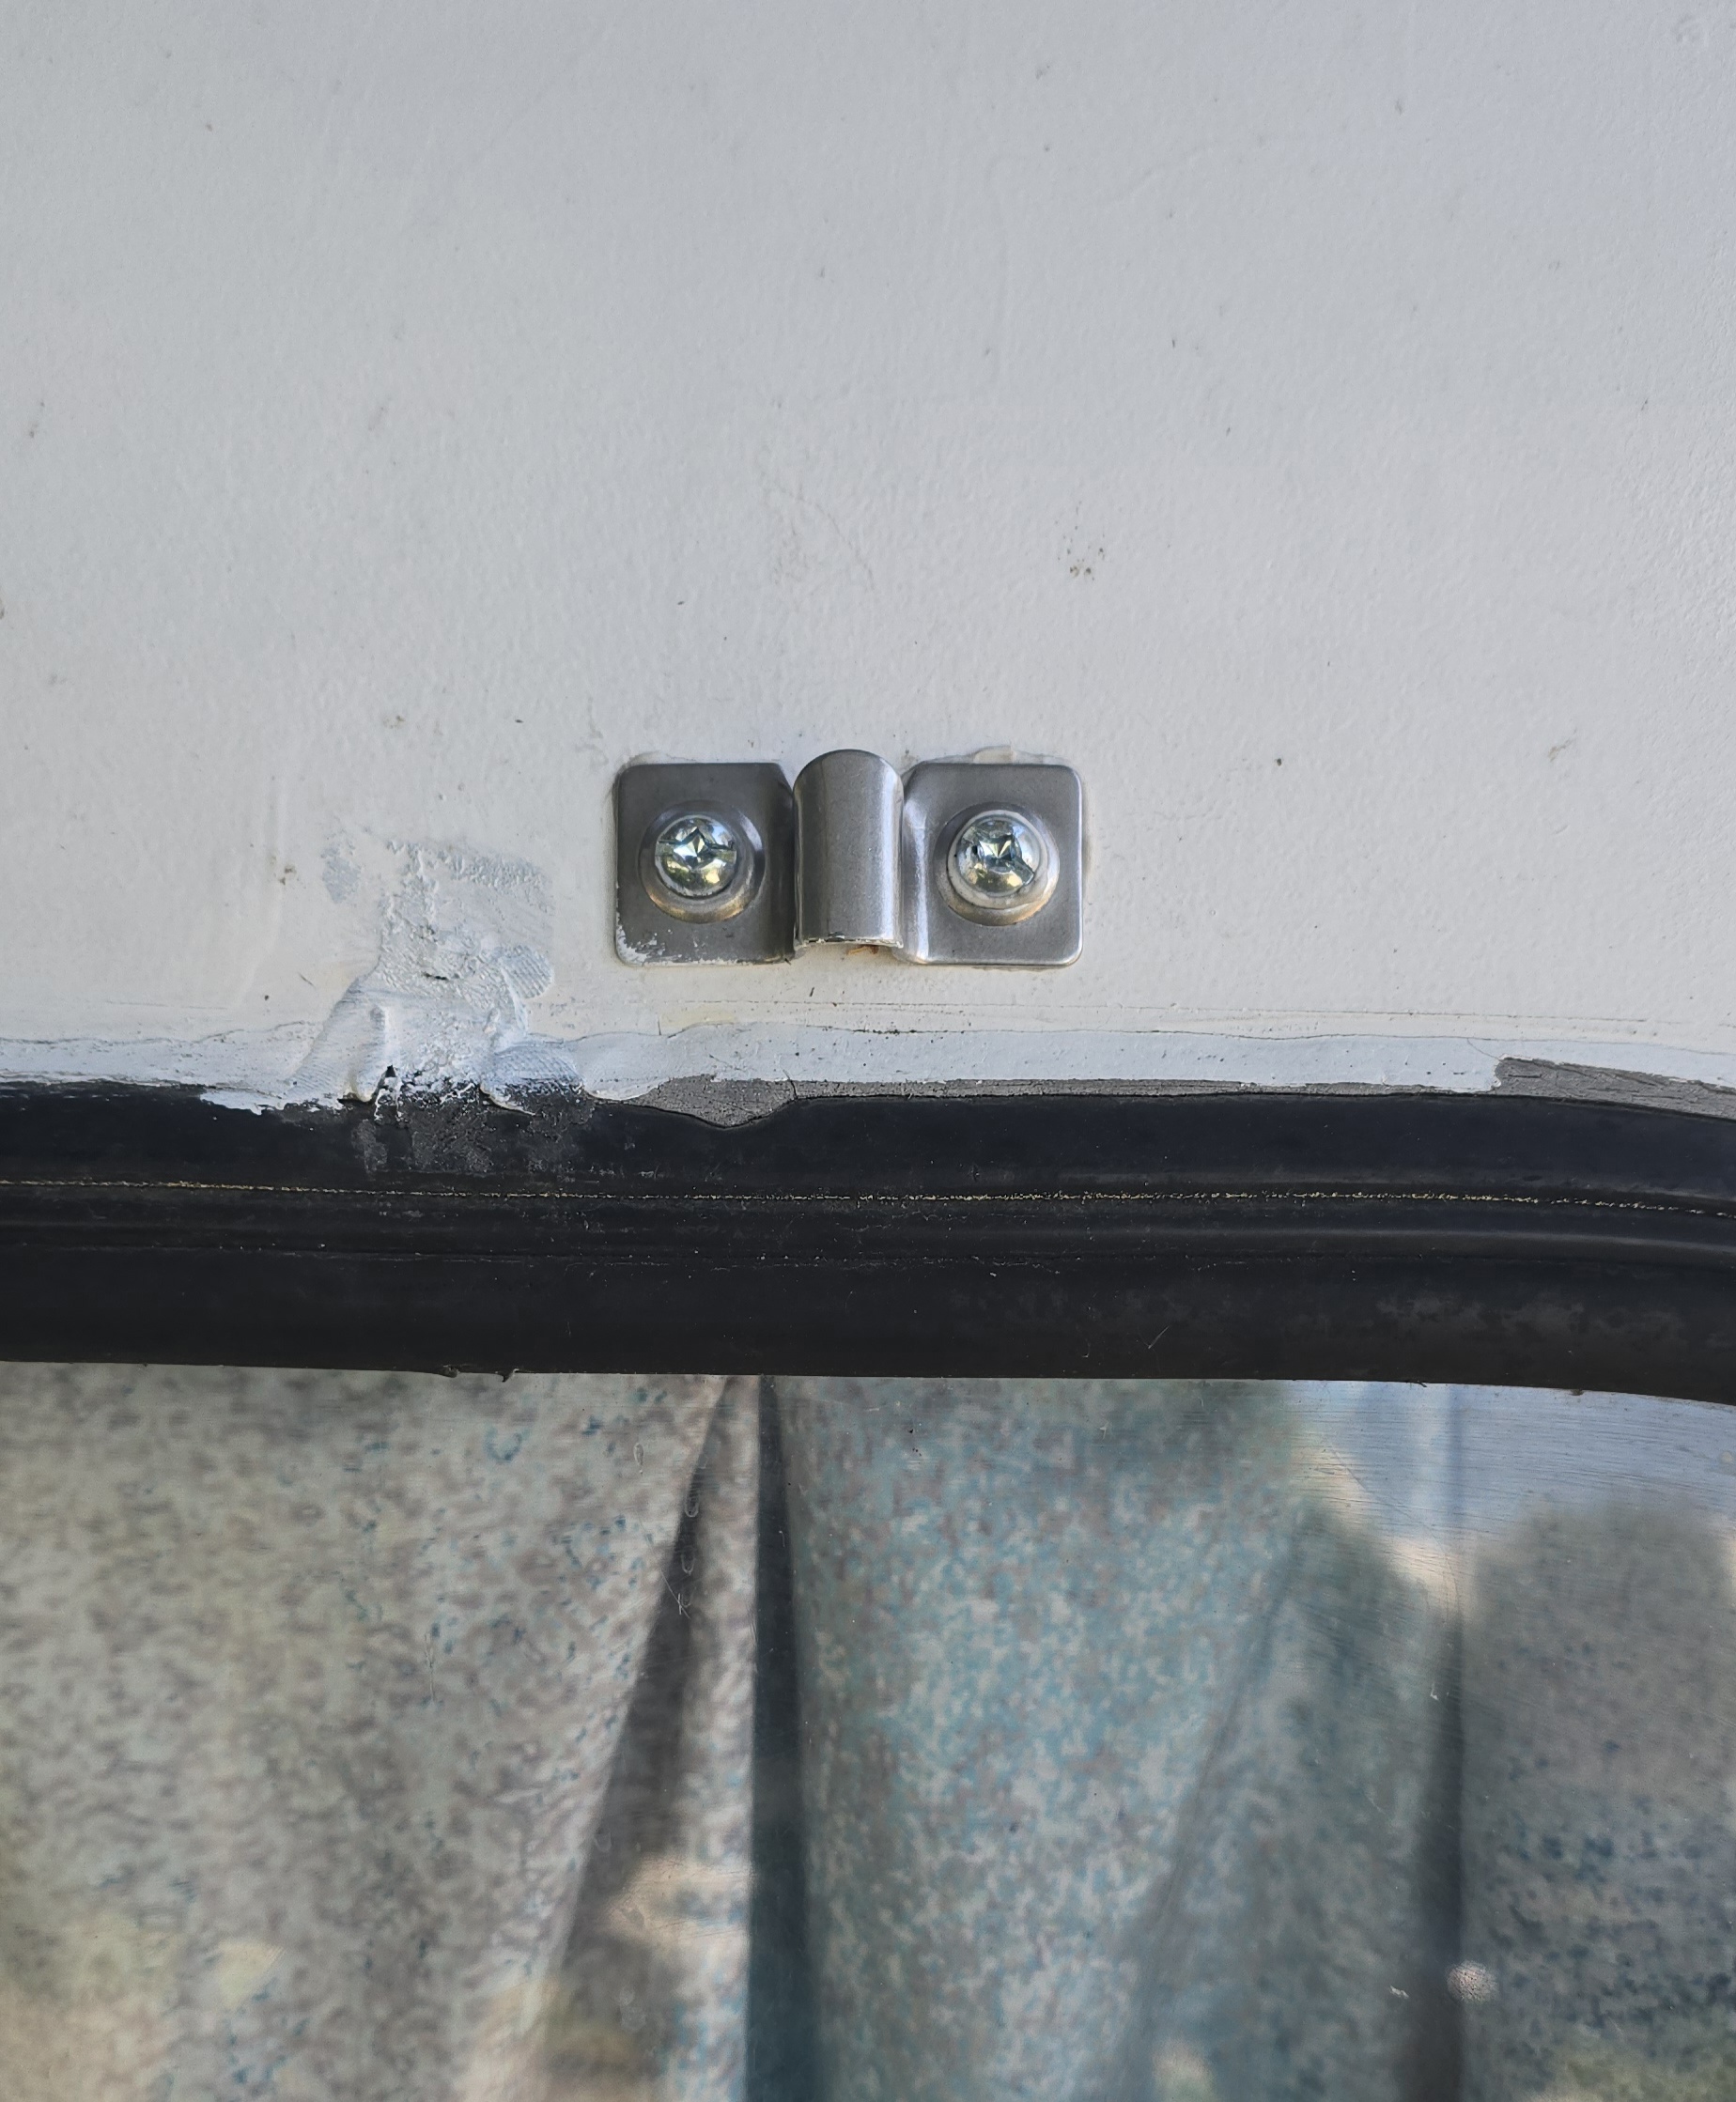
On my boler, there were rusted ‘hooks’ at the top of the window where one had broken off, and there were ‘loops’ at the bottom of the window. Both these were very close to the window frame and having a little knowledge of fibreglass, thought they were too close to the edge.
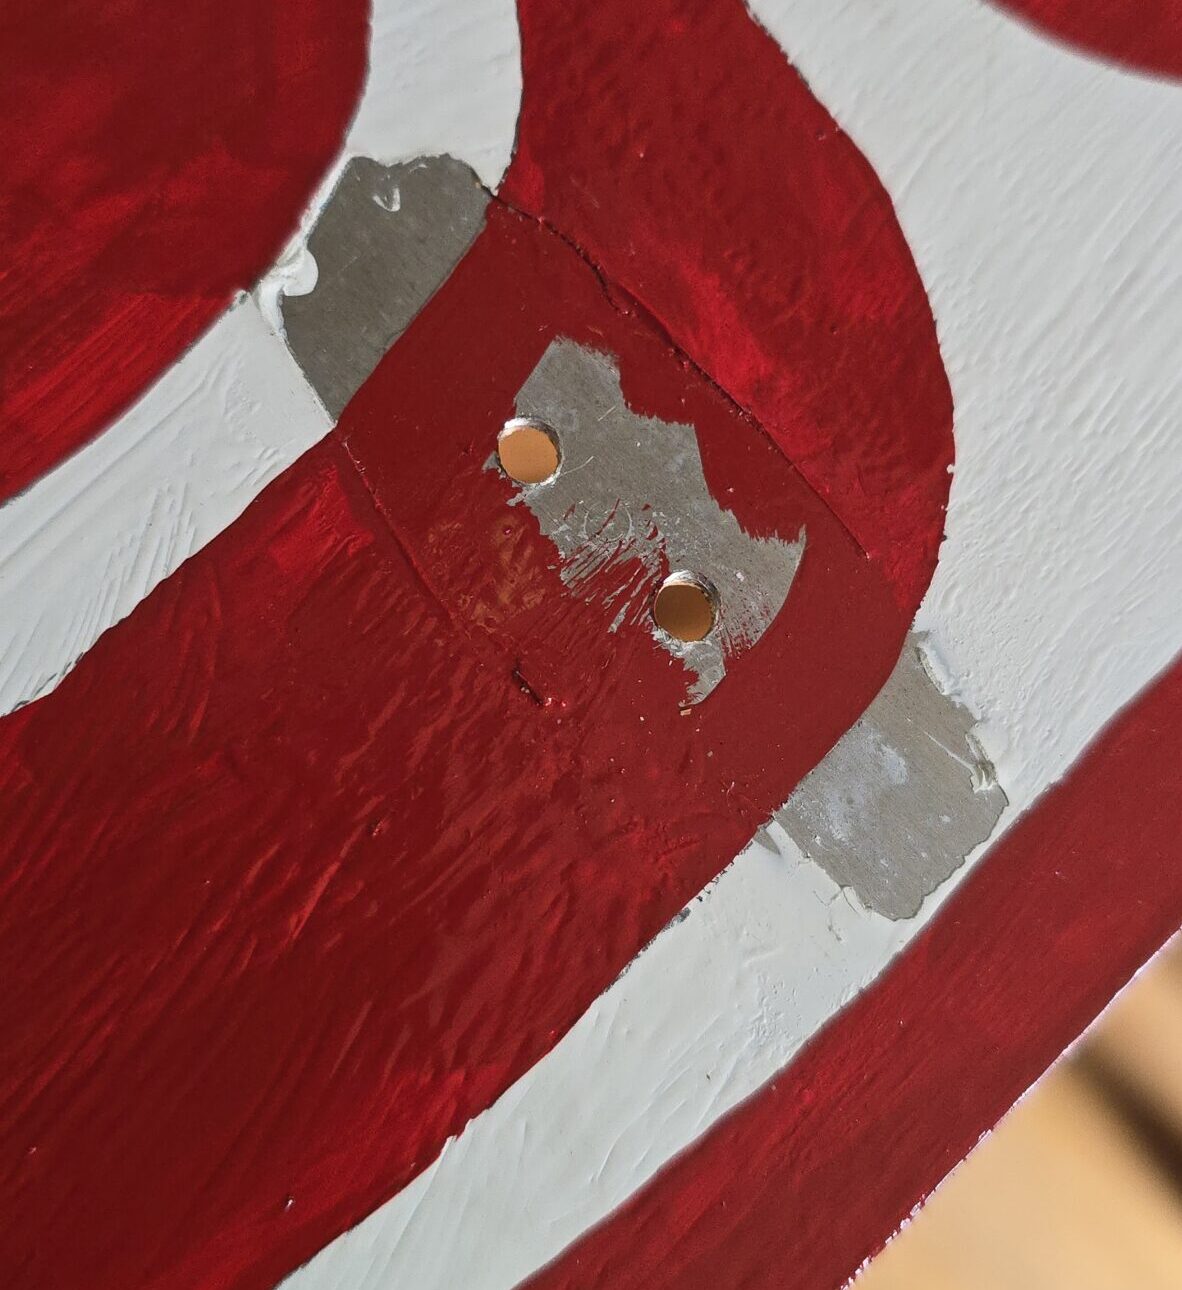
Since the Rock Guard is supposed to be held in place with tension, it didn’t seem a good place to position this hardware. We also had a small leak in the front where I couldn’t identify where it was coming from, so I decided to remove this hardware, seal the holes with Epoxy Putty, and with a new set of hardware from CampCan.ca, positioned it further from the window. Incidentally, the small, unidentified leak has since disappeared.
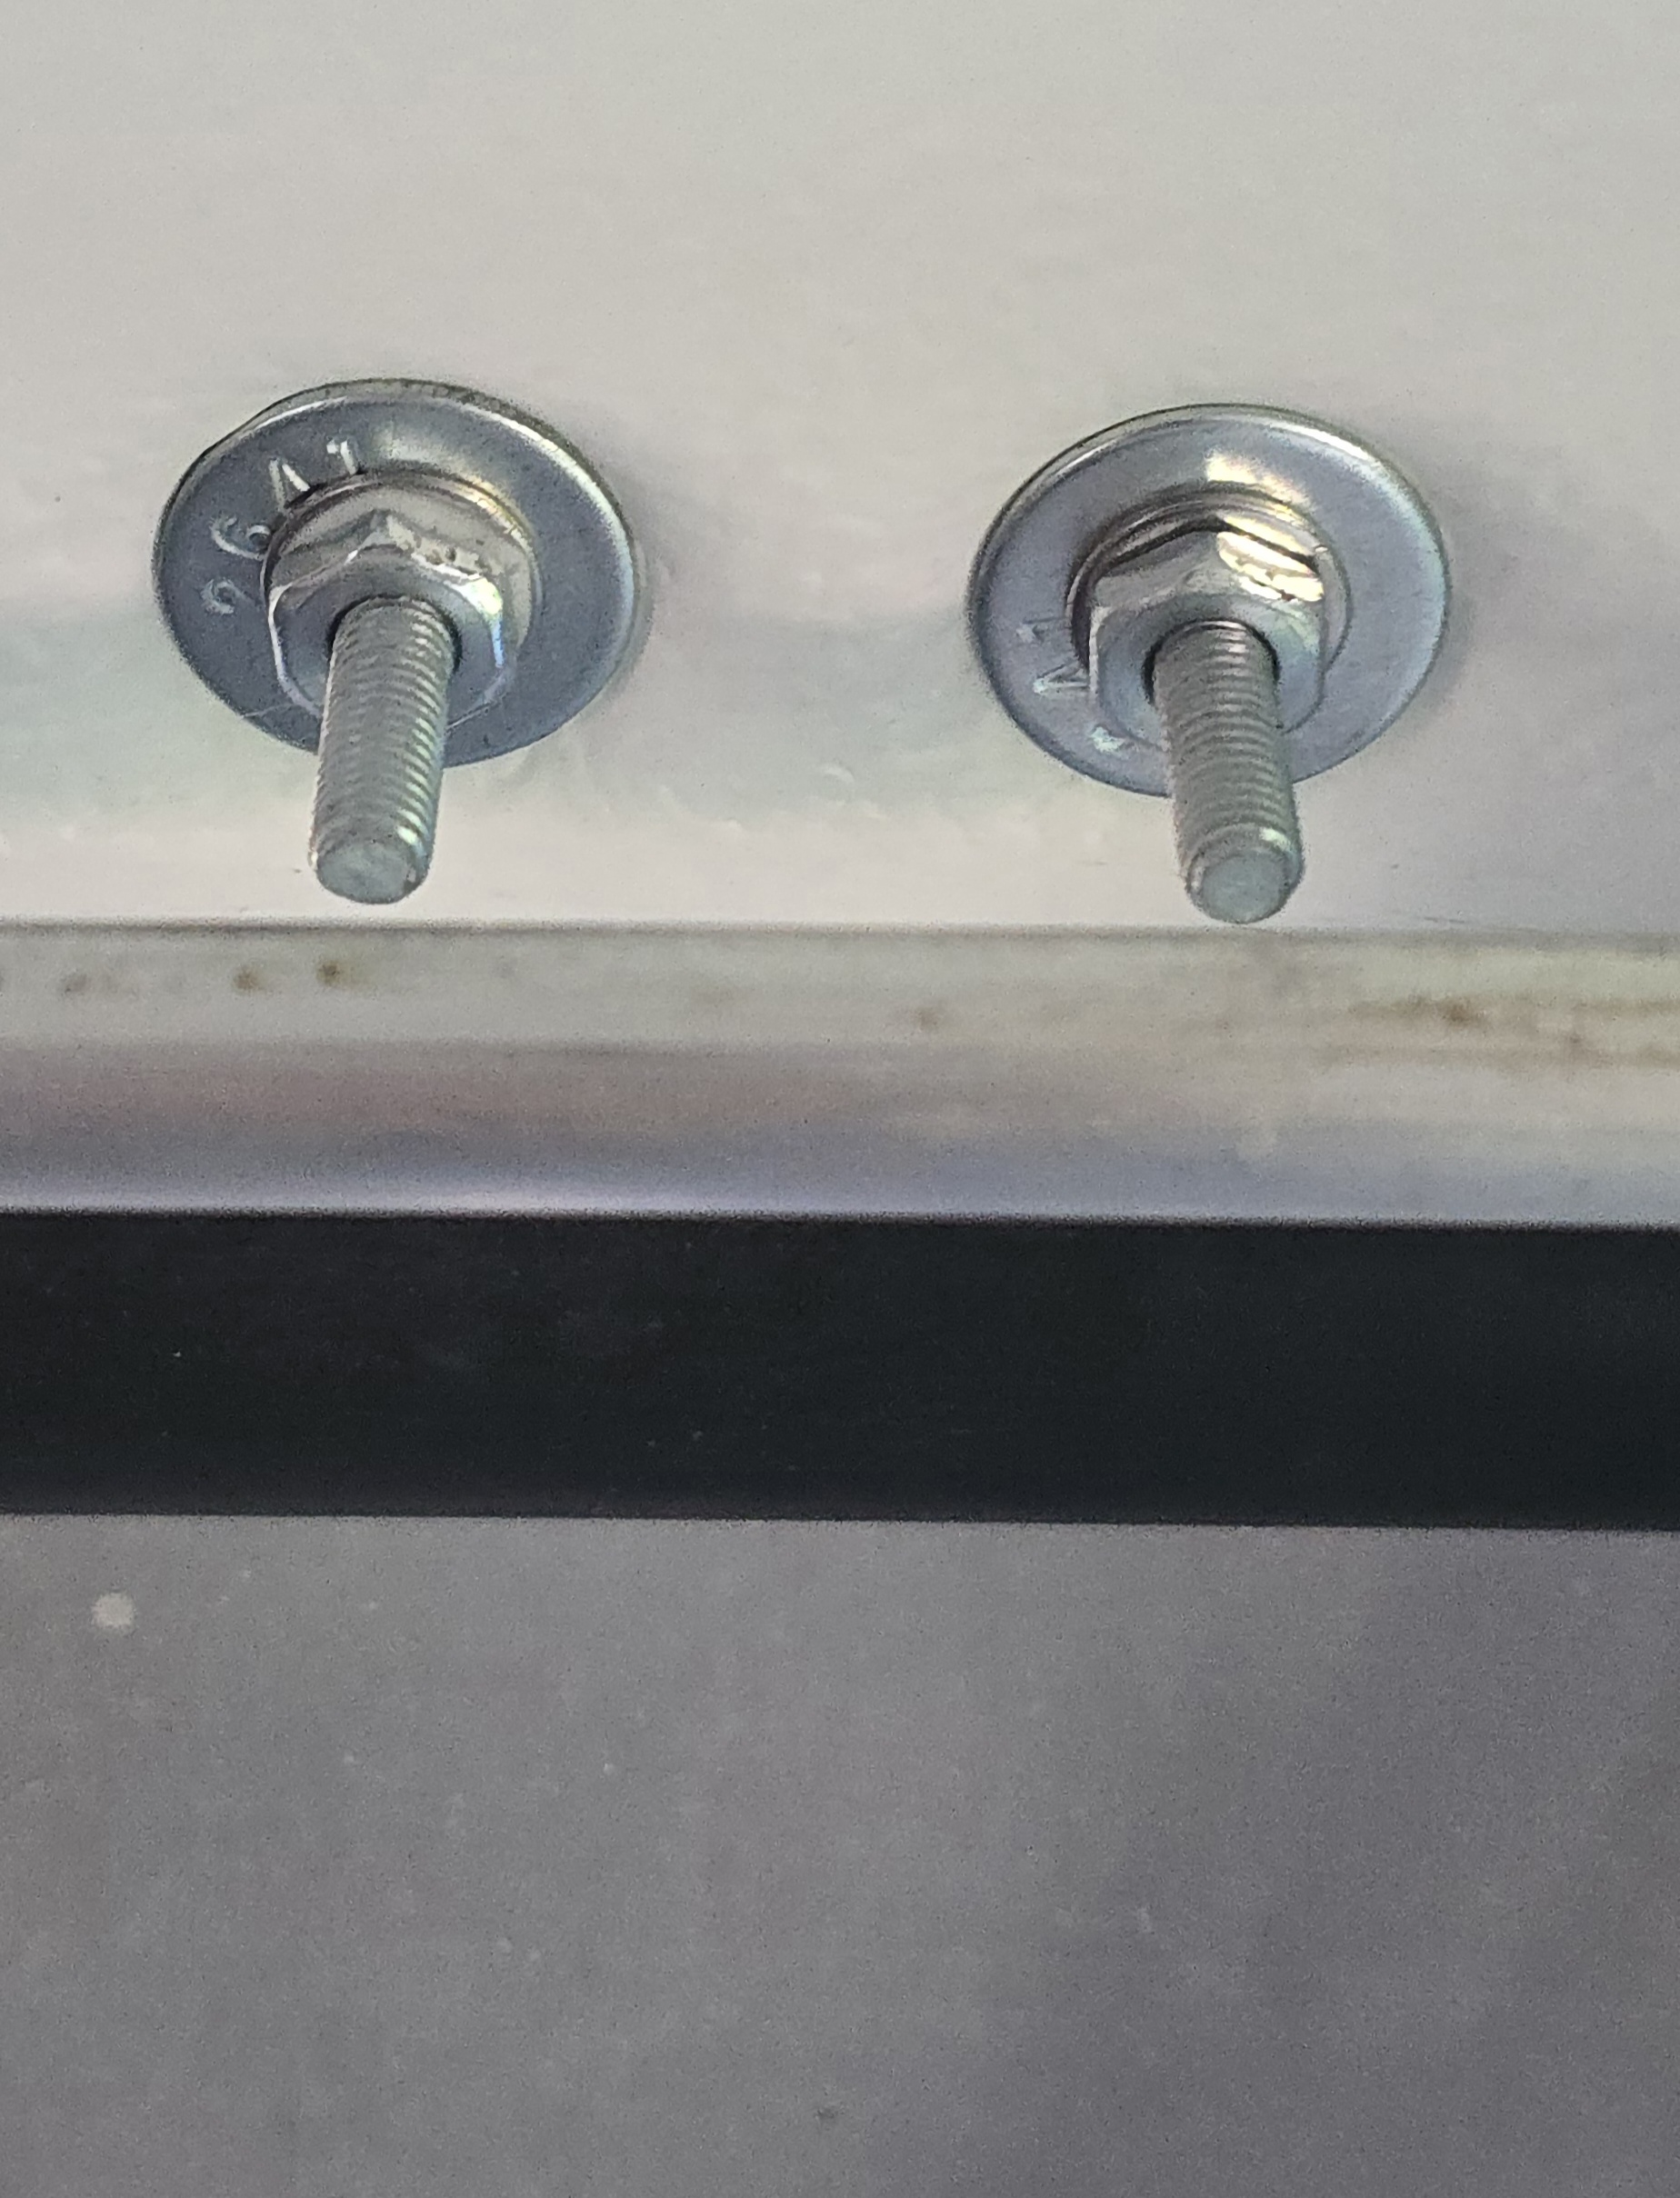
Inside, I didn’t want to get into pulling the Elephant Skin off to hide bolts, so opted for bolts, with lock washers and acorn nuts to prevent cutting myself on them when I would inevitably accidentally hit them. In all cases, I used Stainless Steel bolts, washers and nuts. I recommend taking the hardware to your local ‘bolt’ store to size the bolts to the hardware. If I remember properly, I needed some #32 (for bottom hardware) and some 4mm (for top hardware). I wanted tight diameter fits for all so bought ‘oval heads’ for the top, and ‘pan heads’ for the bottom and in all cases, Robertson drive. I can’t stand slot or Phillips. For the latches at the bottom that have the tension springs, I opted to pop-rivet these to the Rock Guard because nuts on the inside might scratch the window, and nuts on the outside might prevent the latch from closing properly.
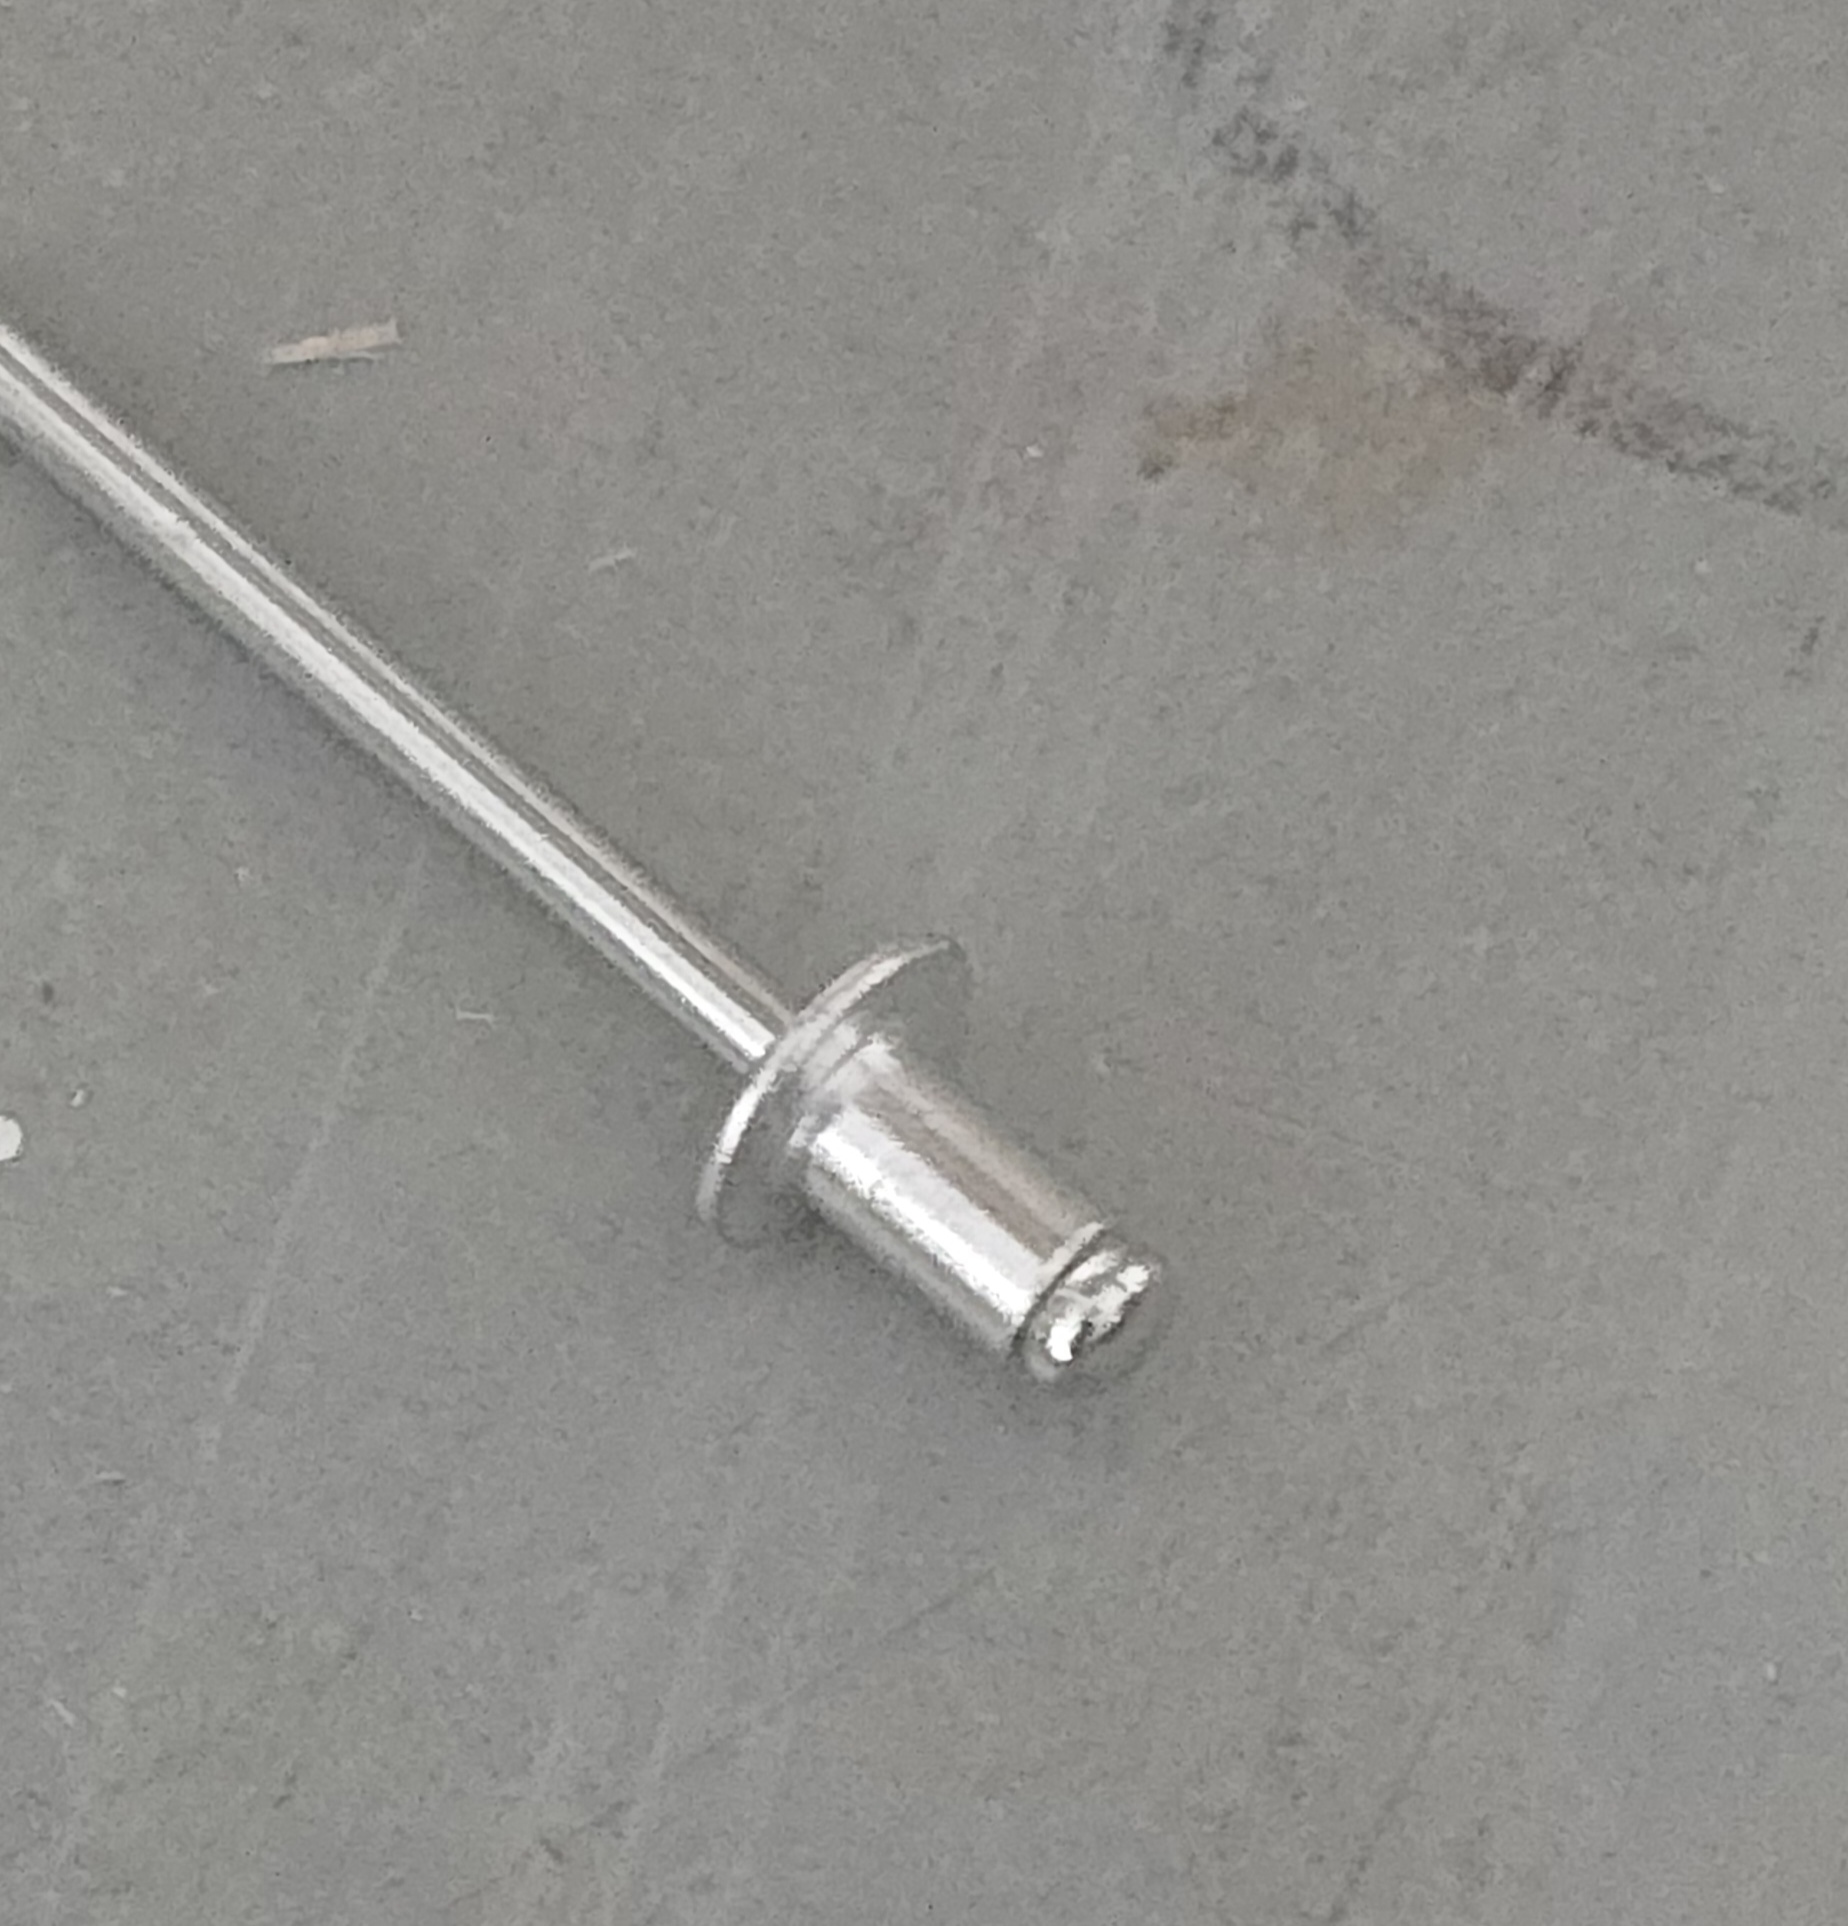
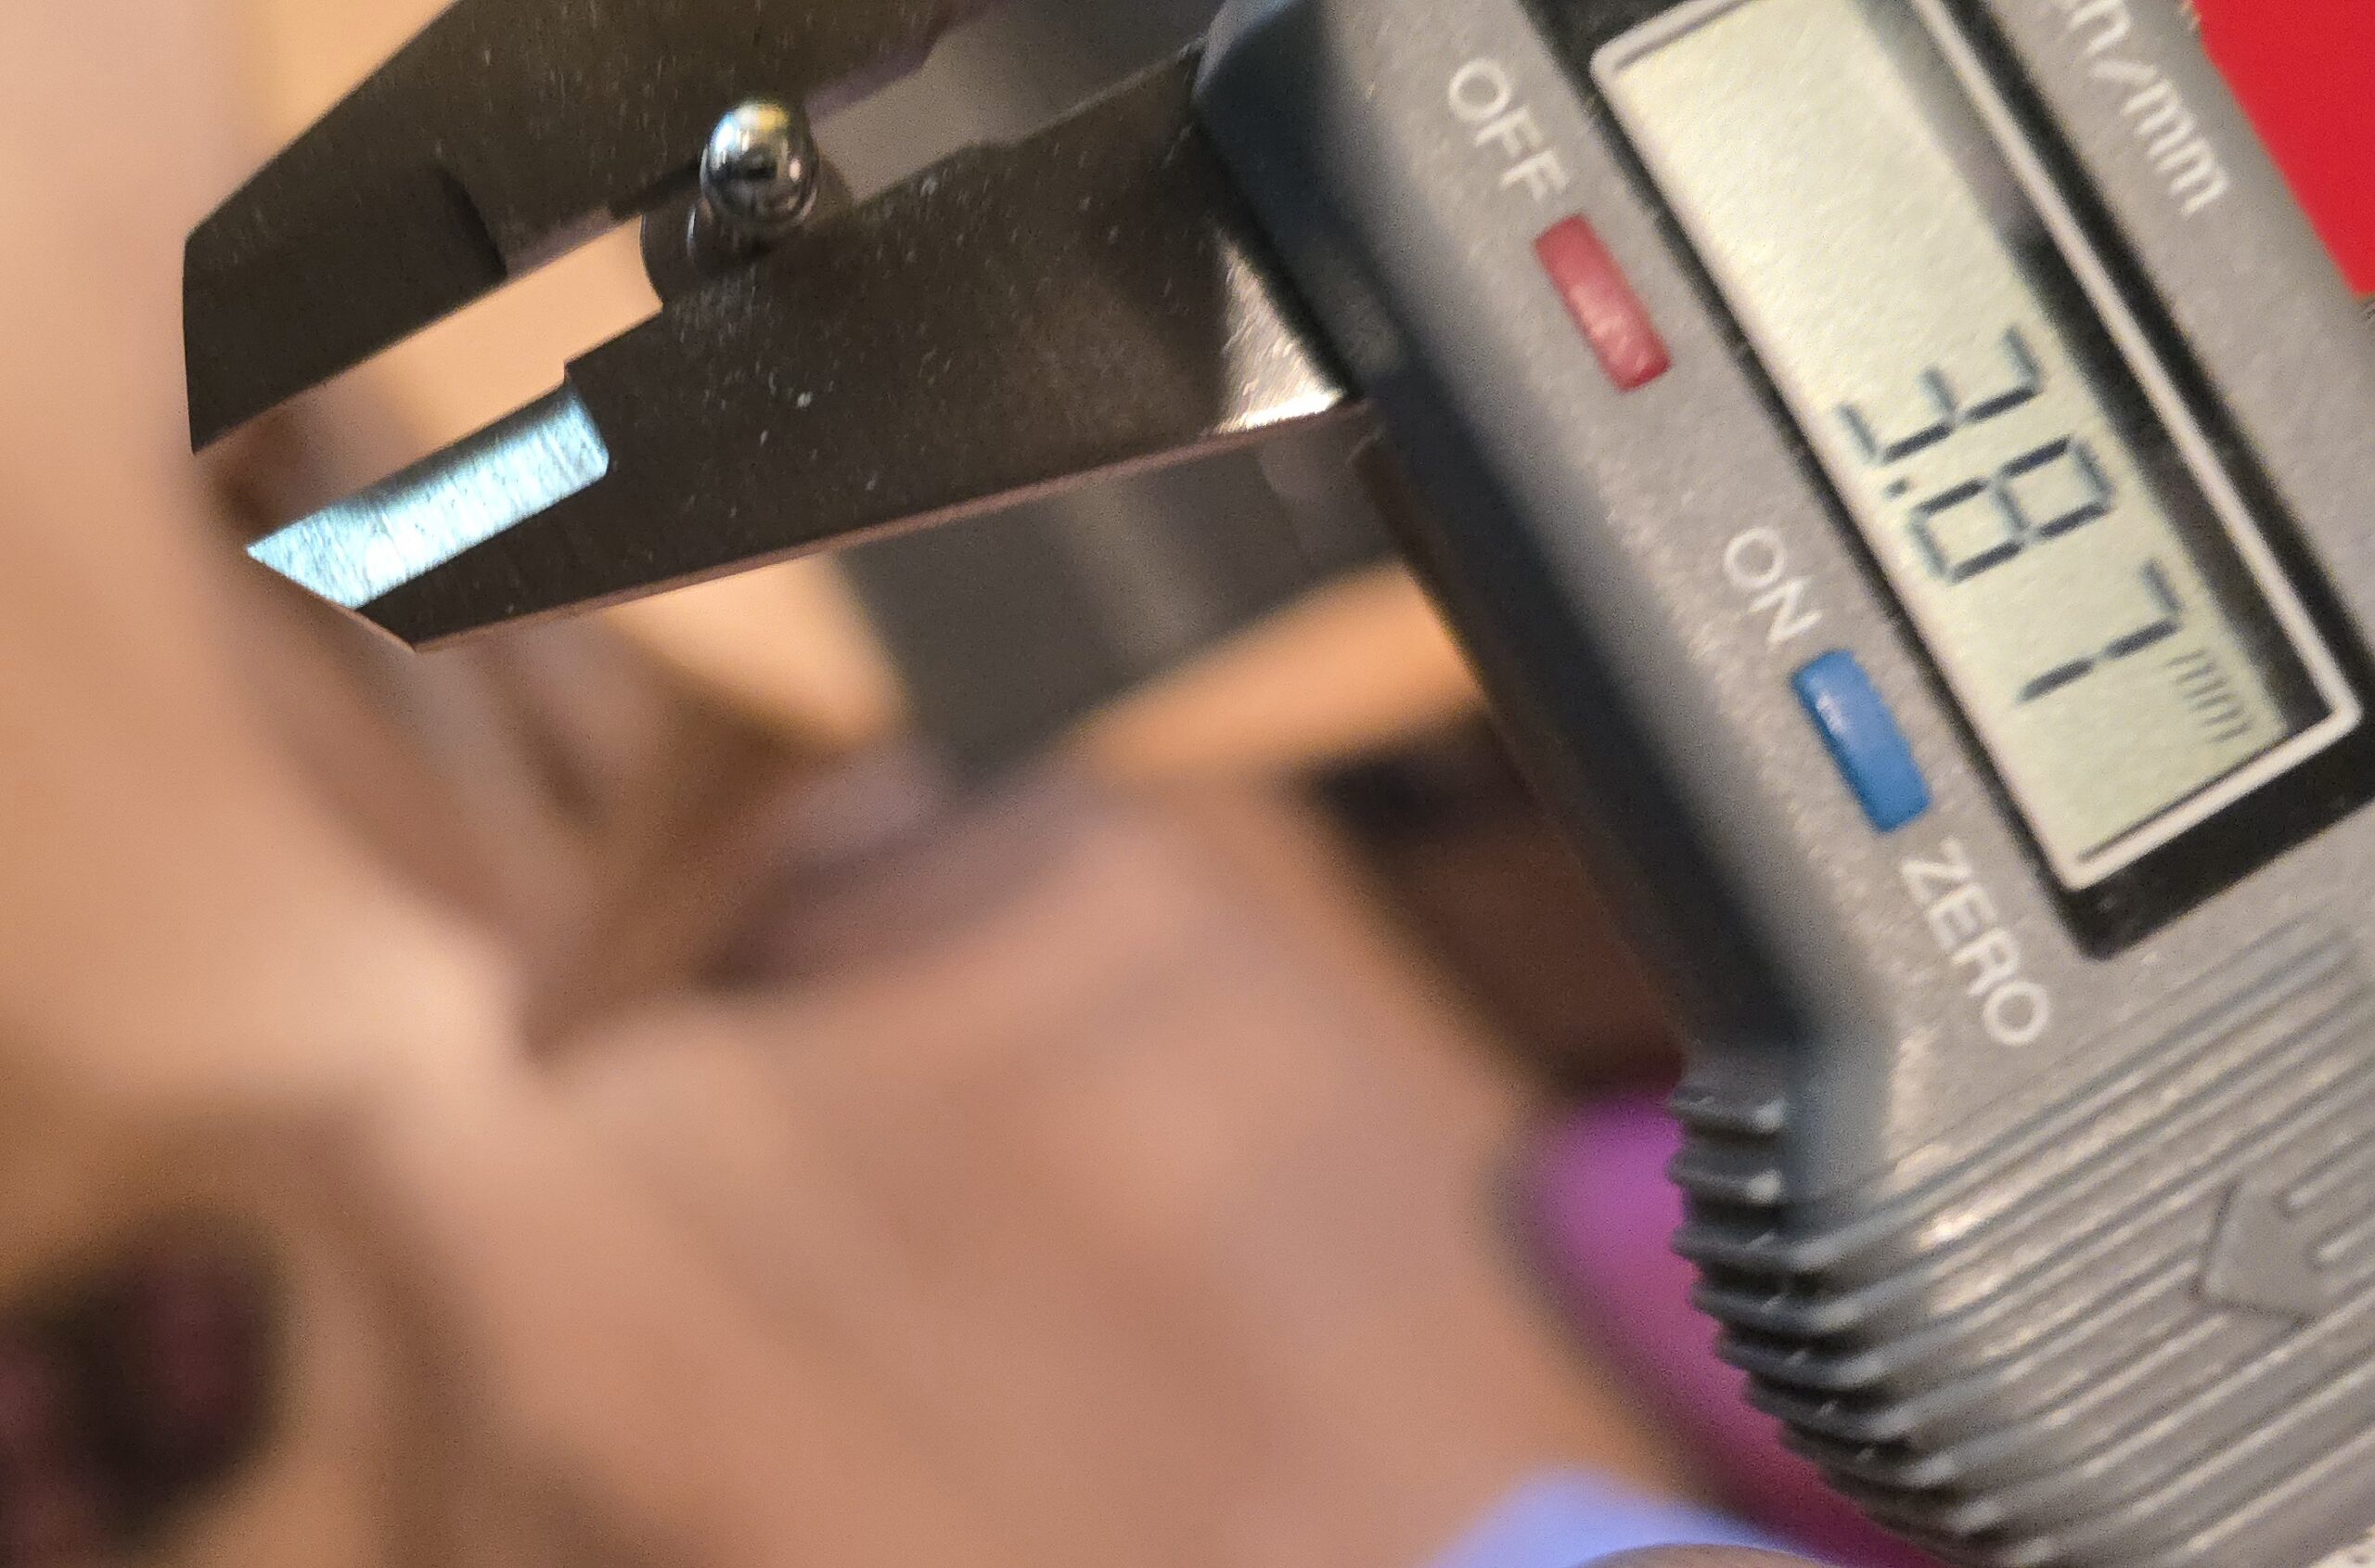
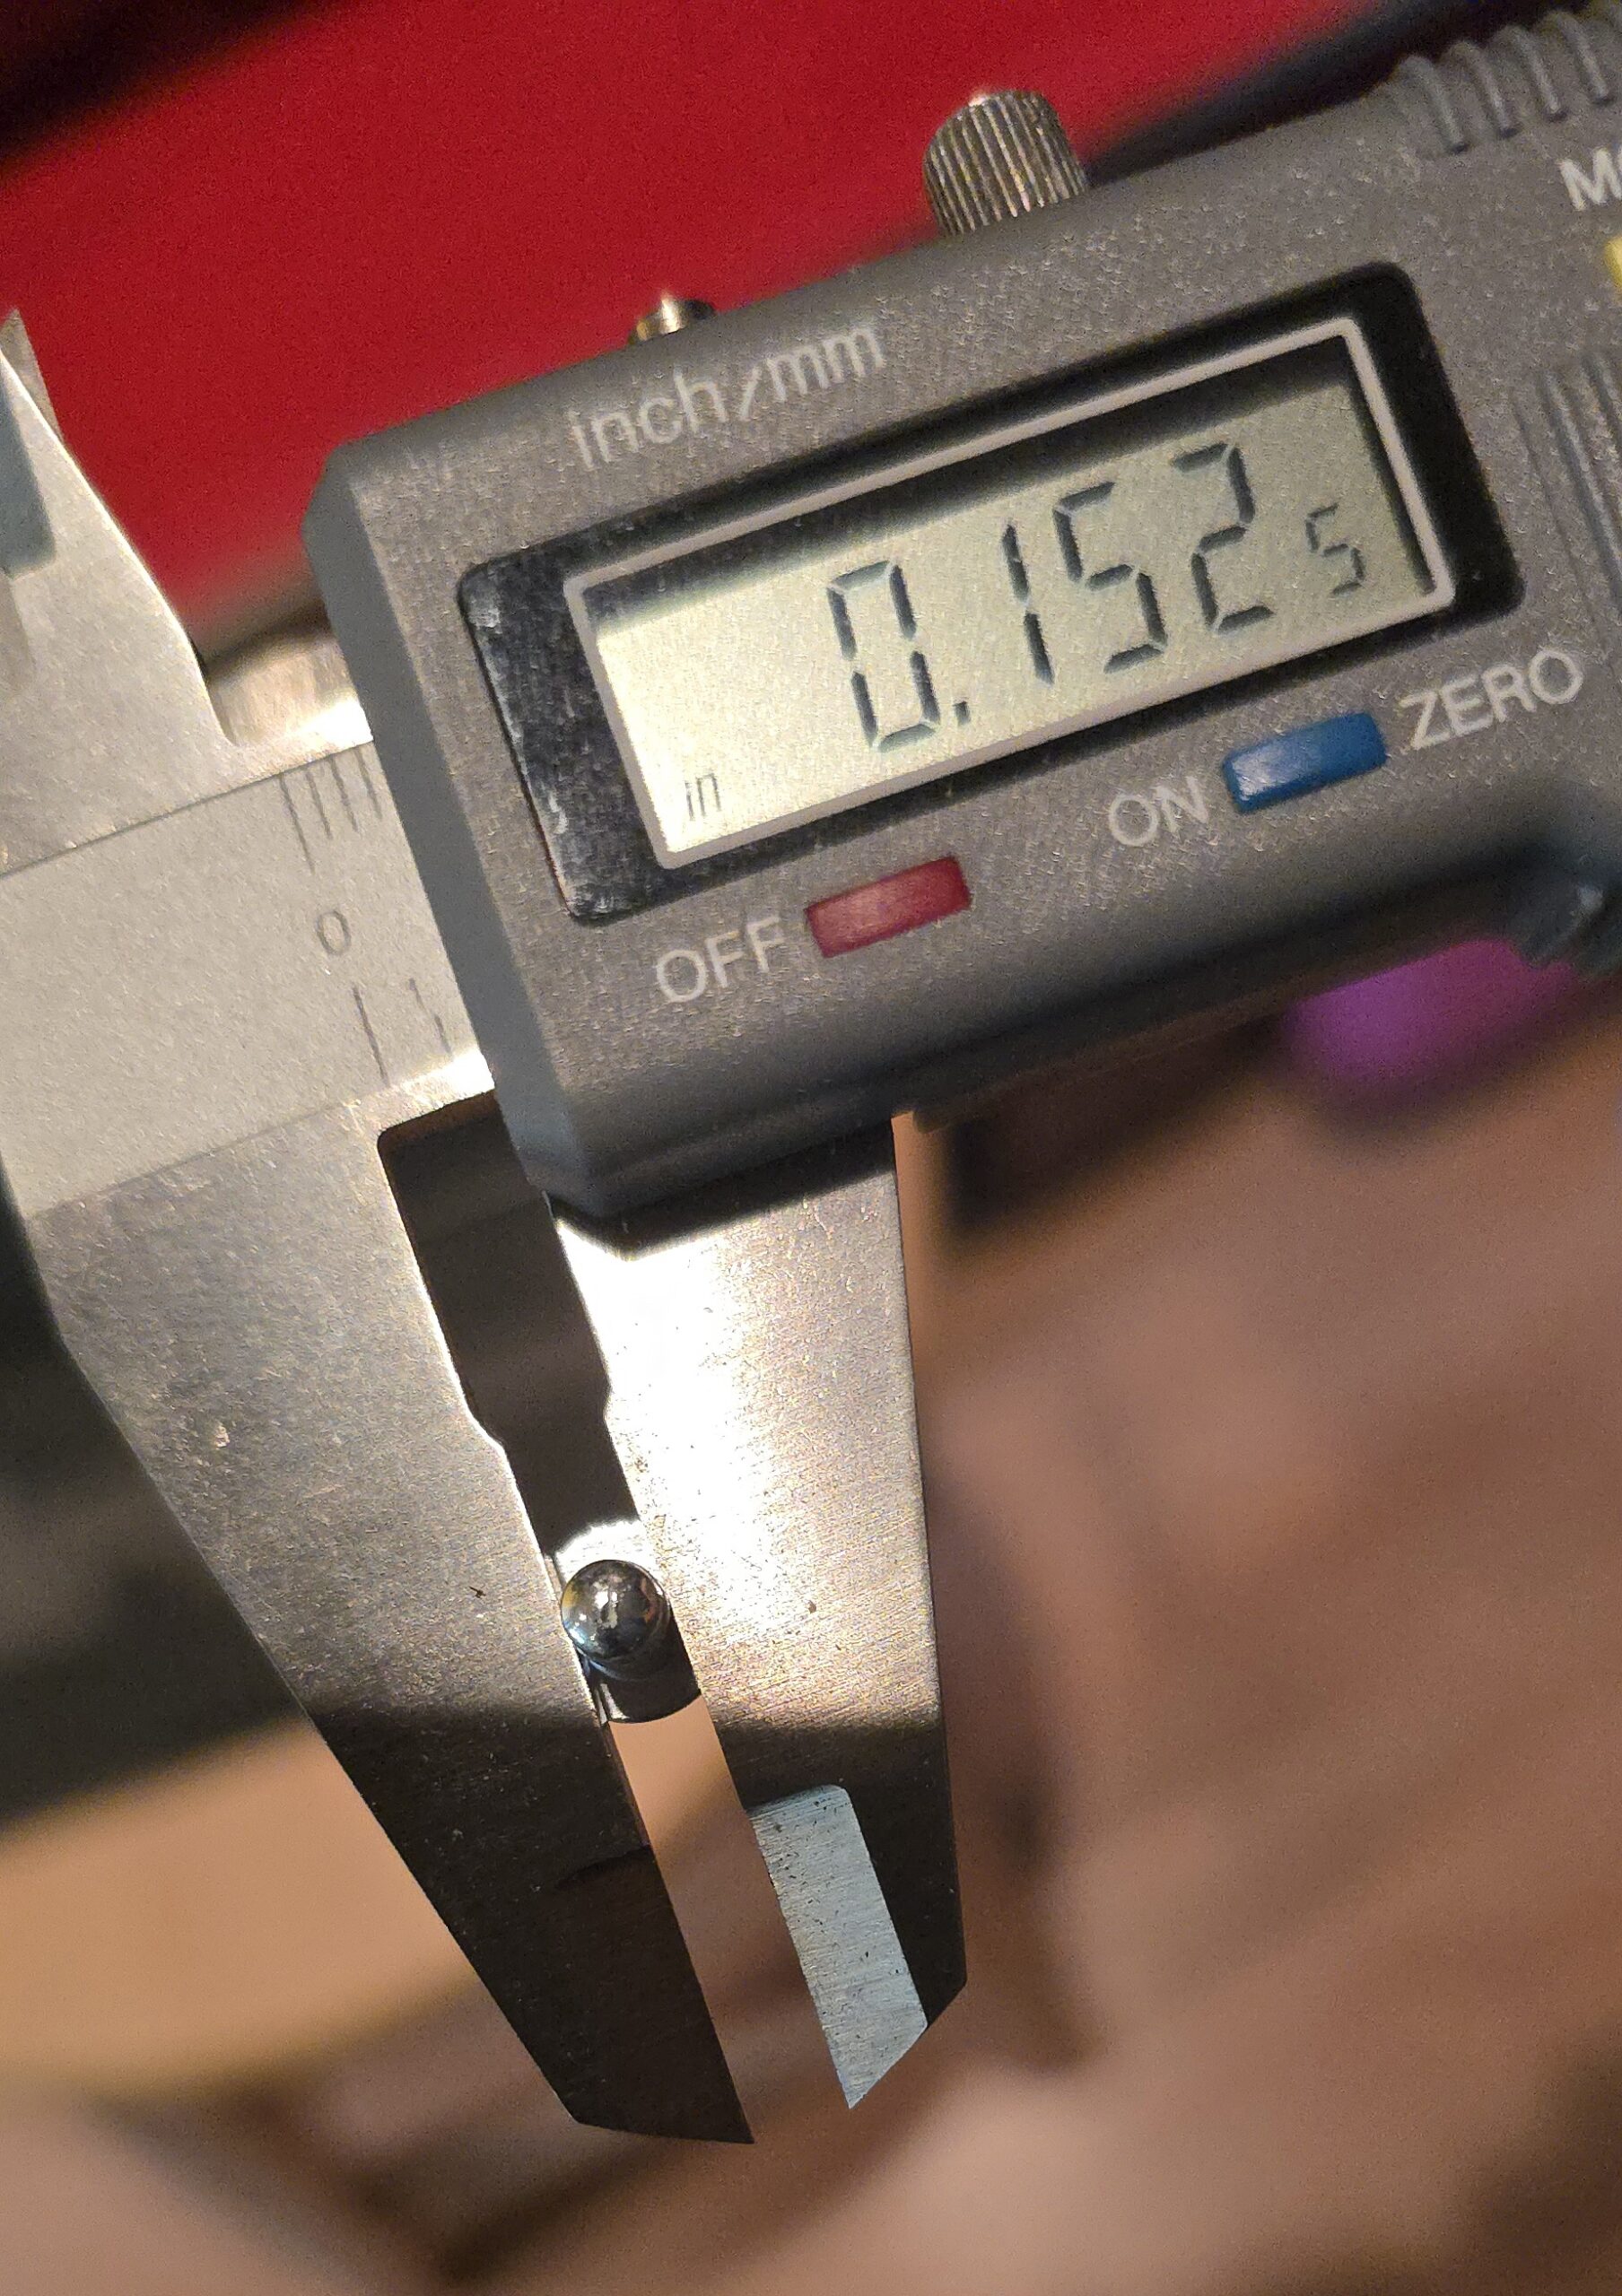
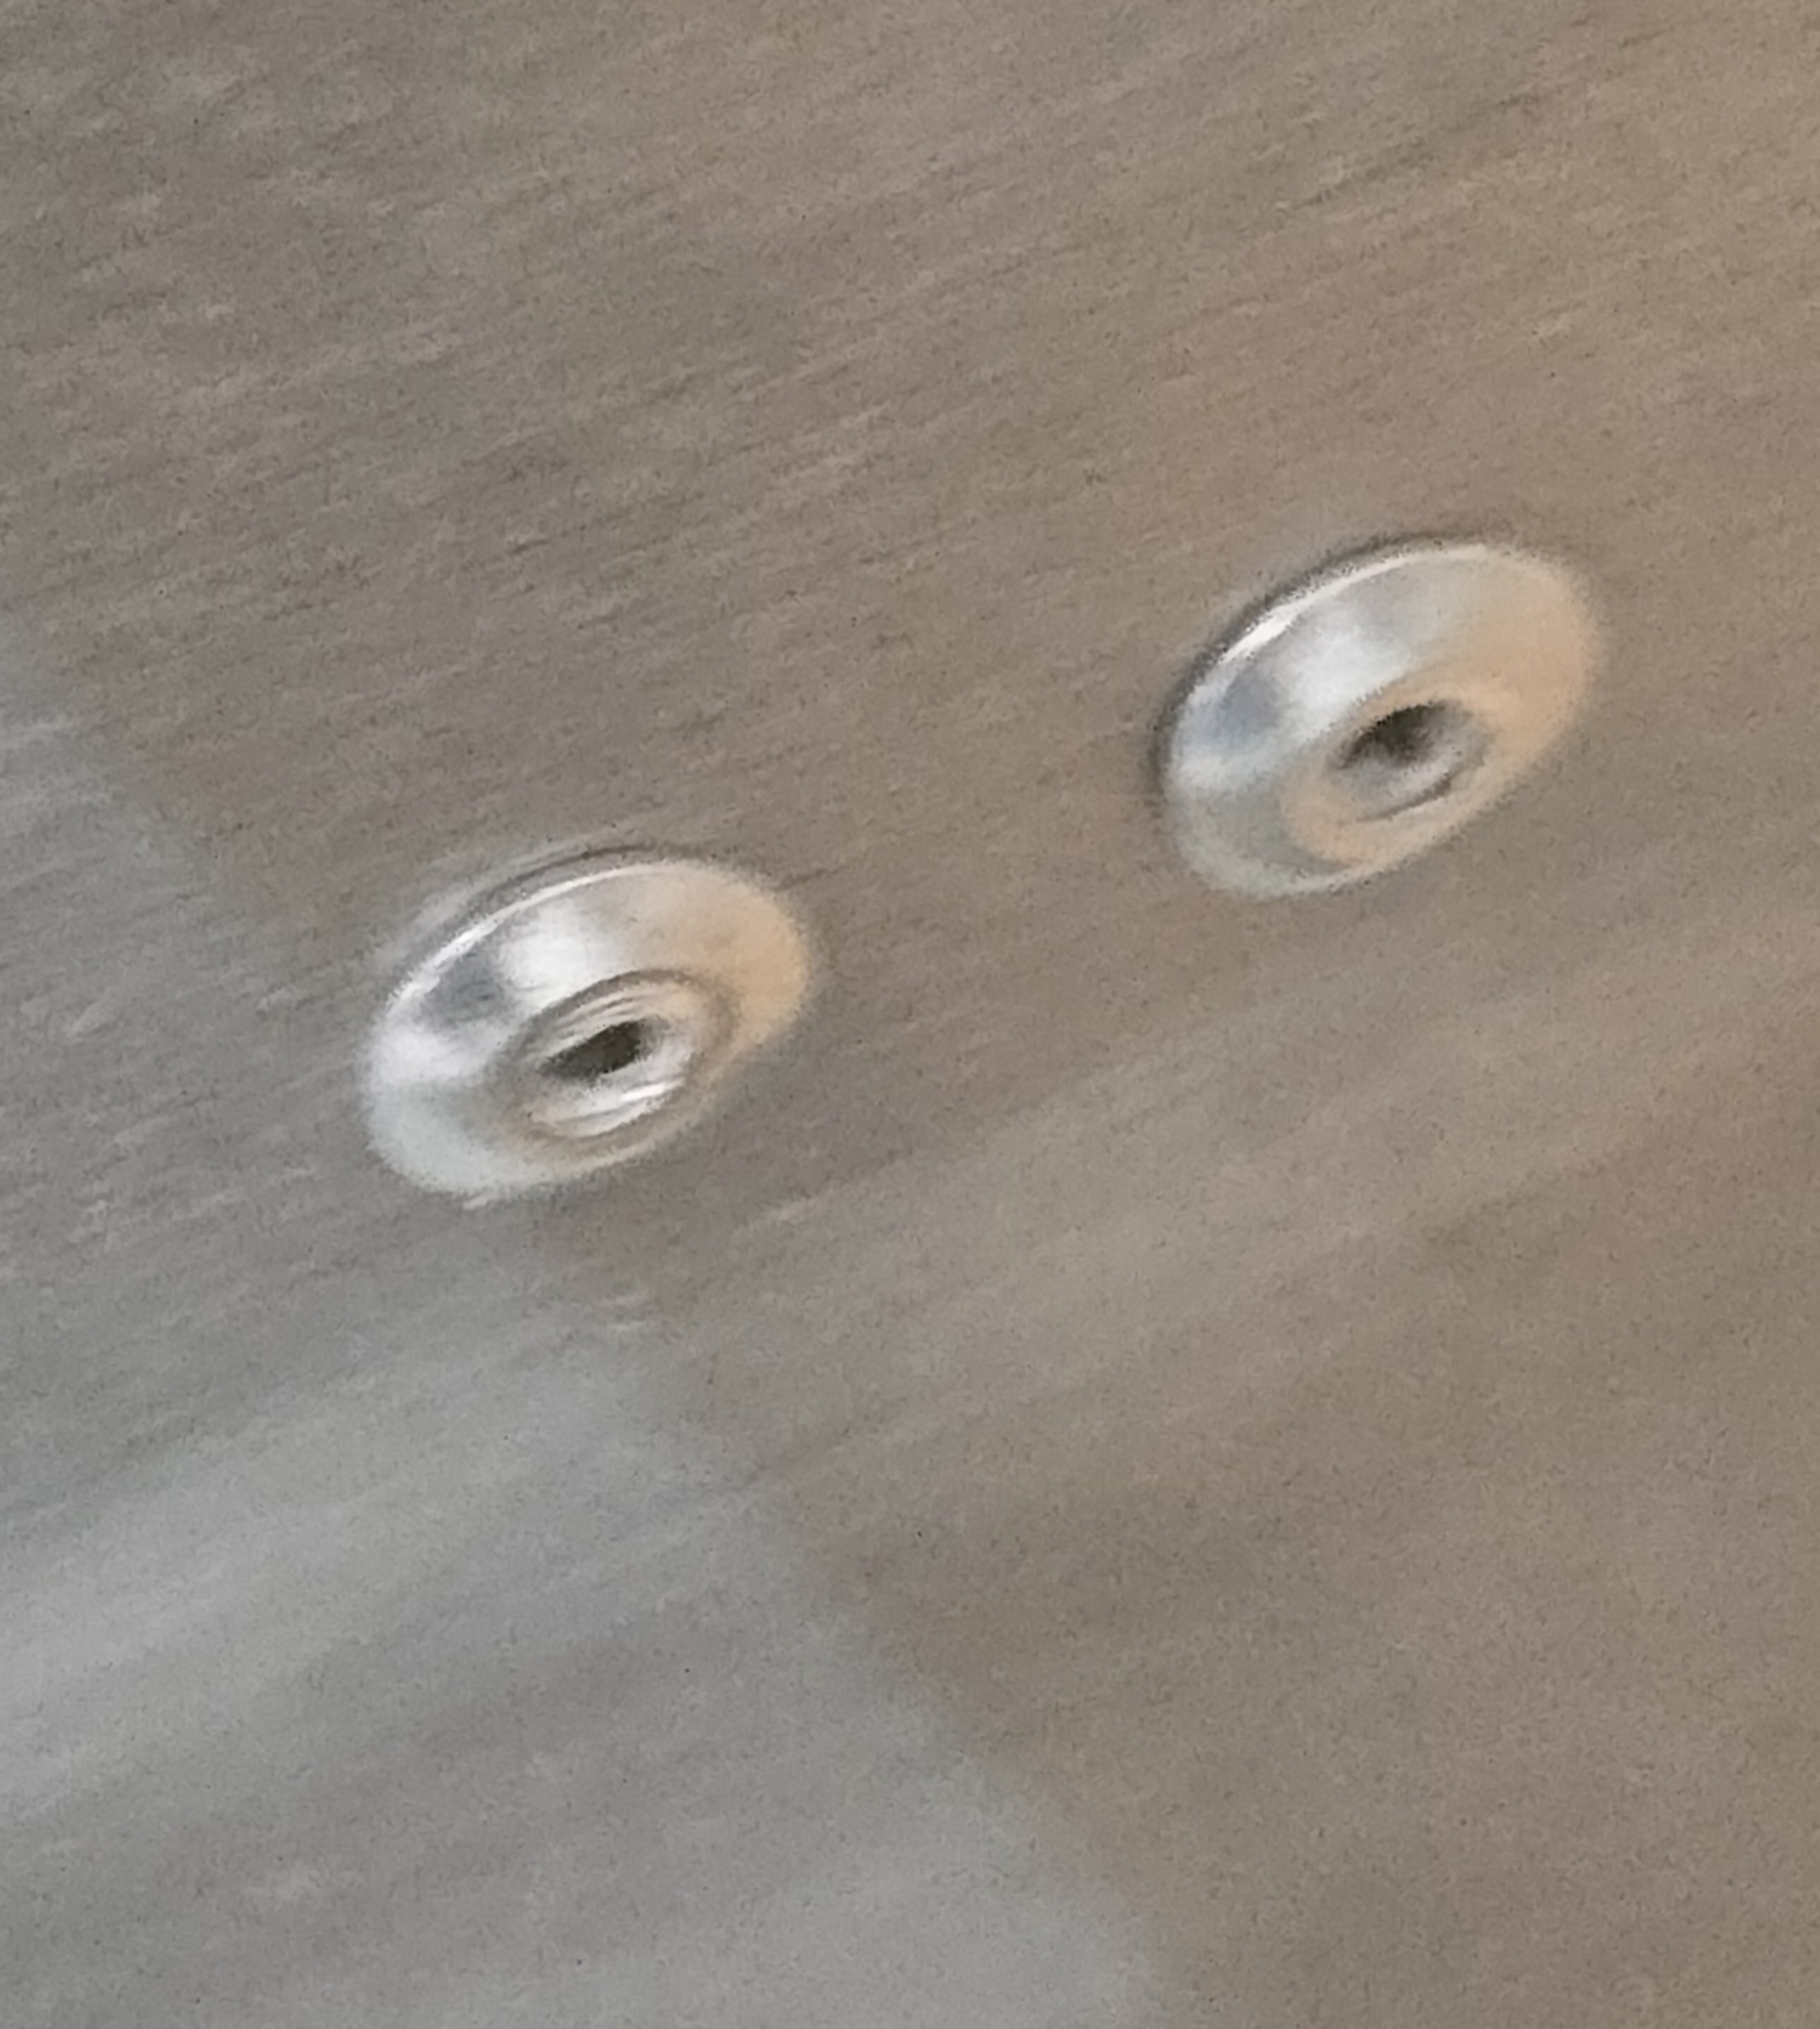
I was pleased to discover that a pop rivet of 0.15” (3.87mm) diameter with a shaft of 1/4″ (6.35mm) fit perfectly without the need for a washer. This is assuming that you use the same thickness of aluminium I mentioned earlier. The rivets heads were on the inside (glass side) of the Rock Guard, and the pop rivet side was on the inside of the latch.
The process is relatively straight forward.
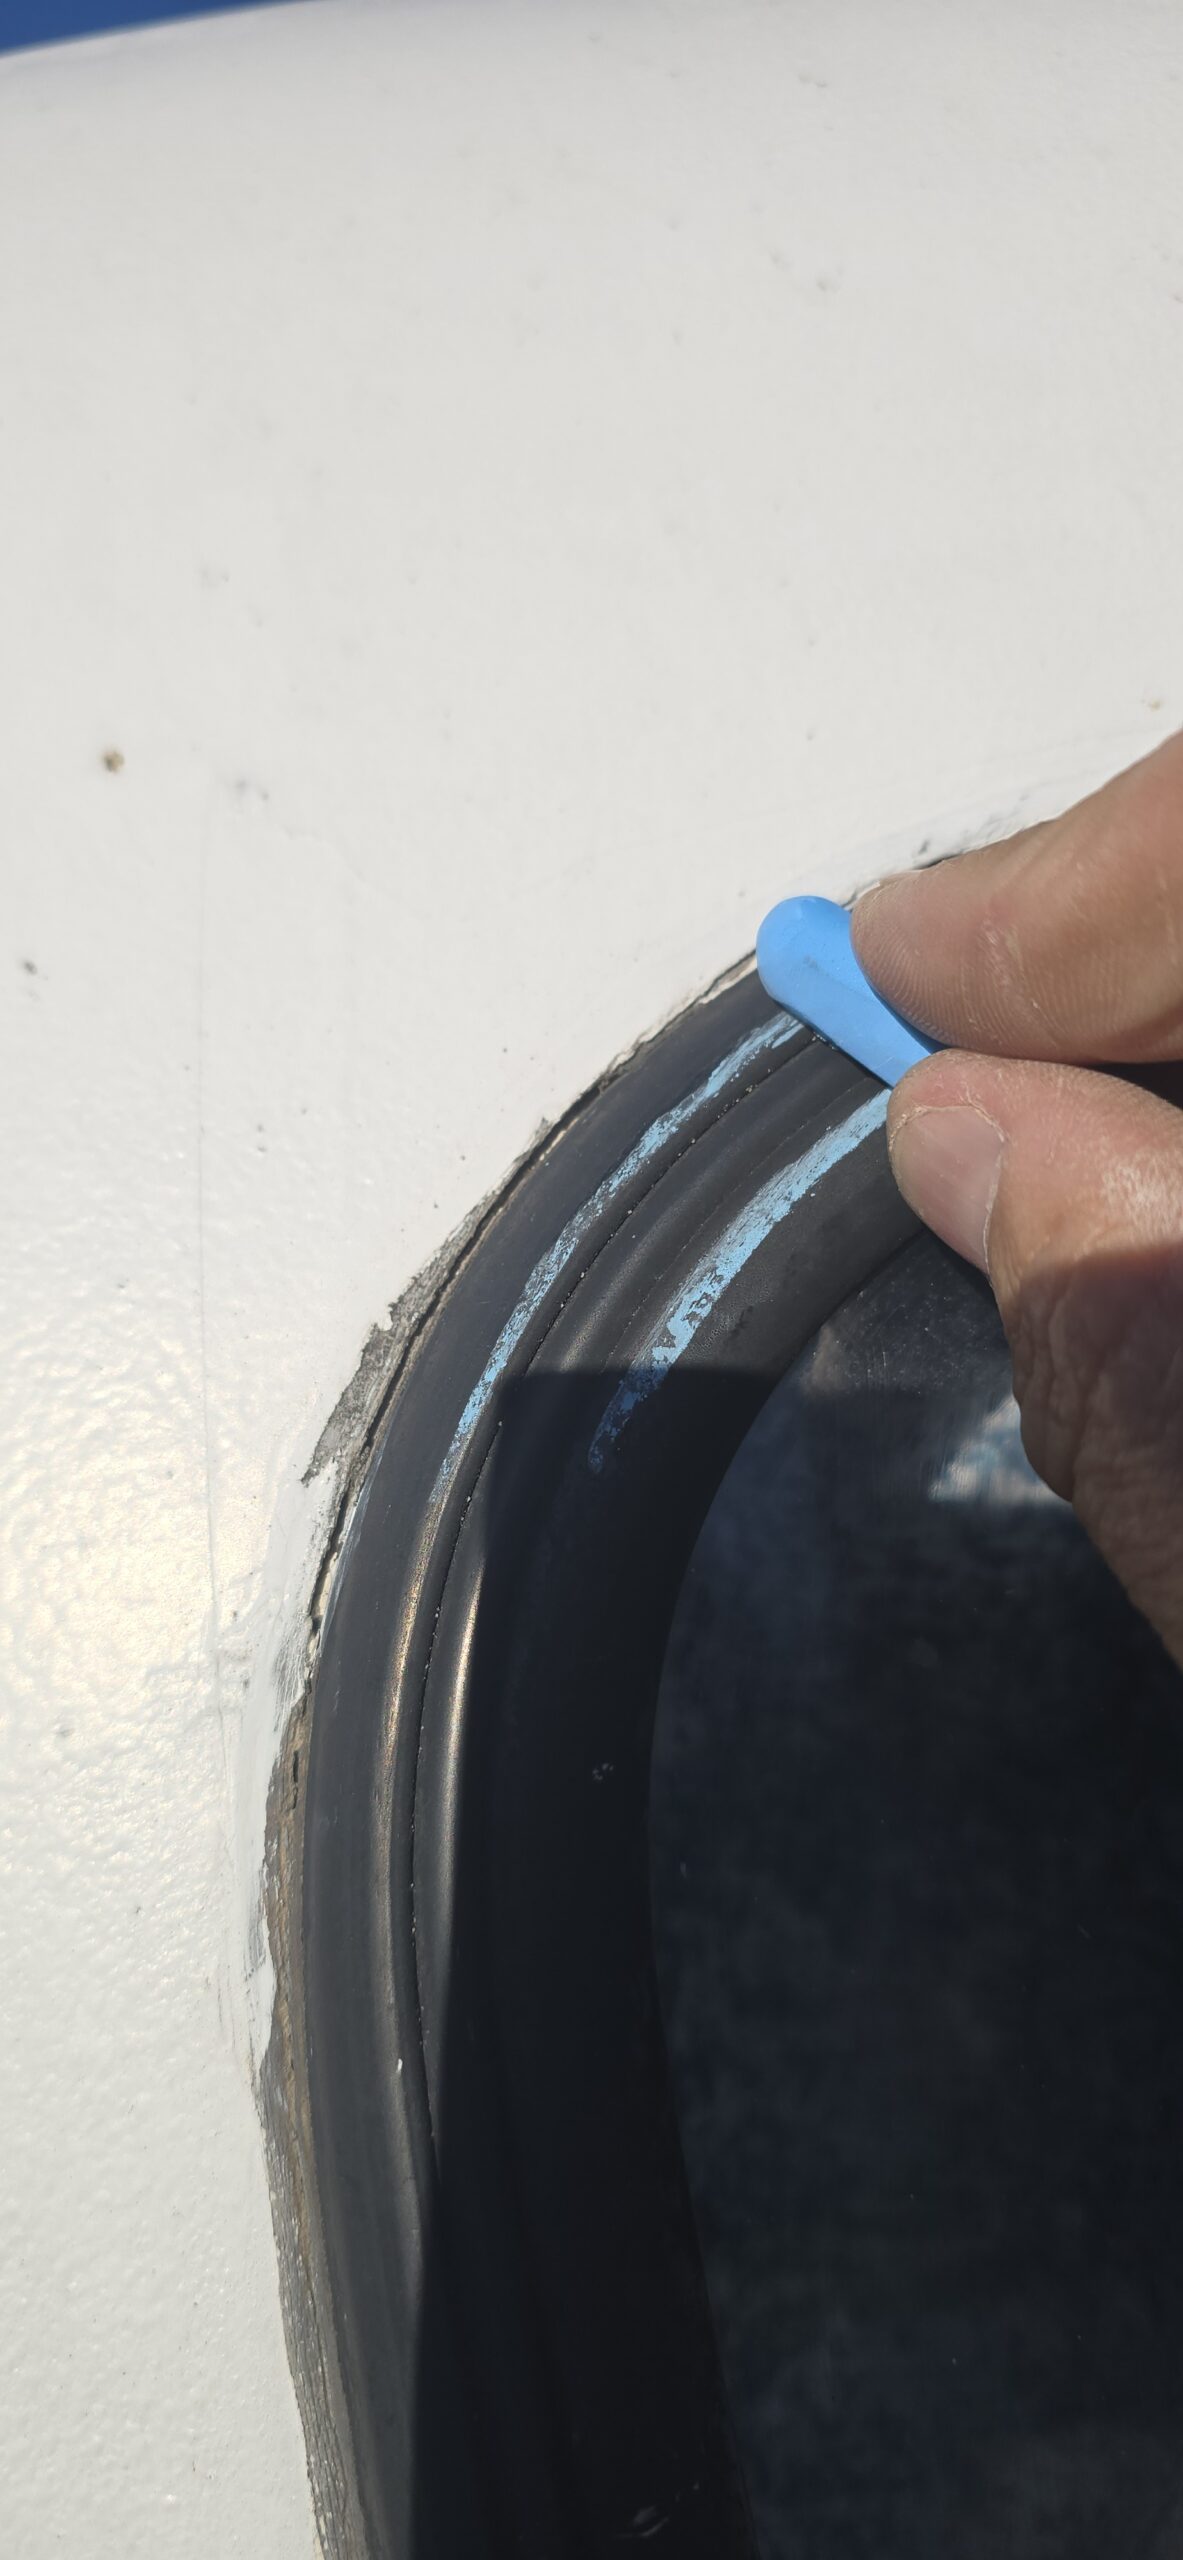
I used chalk on the rubber gasket then pressed a sheet of cardboard into it, leaving an imprint of the window gasket. Using the outer line, I extended that another inch then cut the template out.
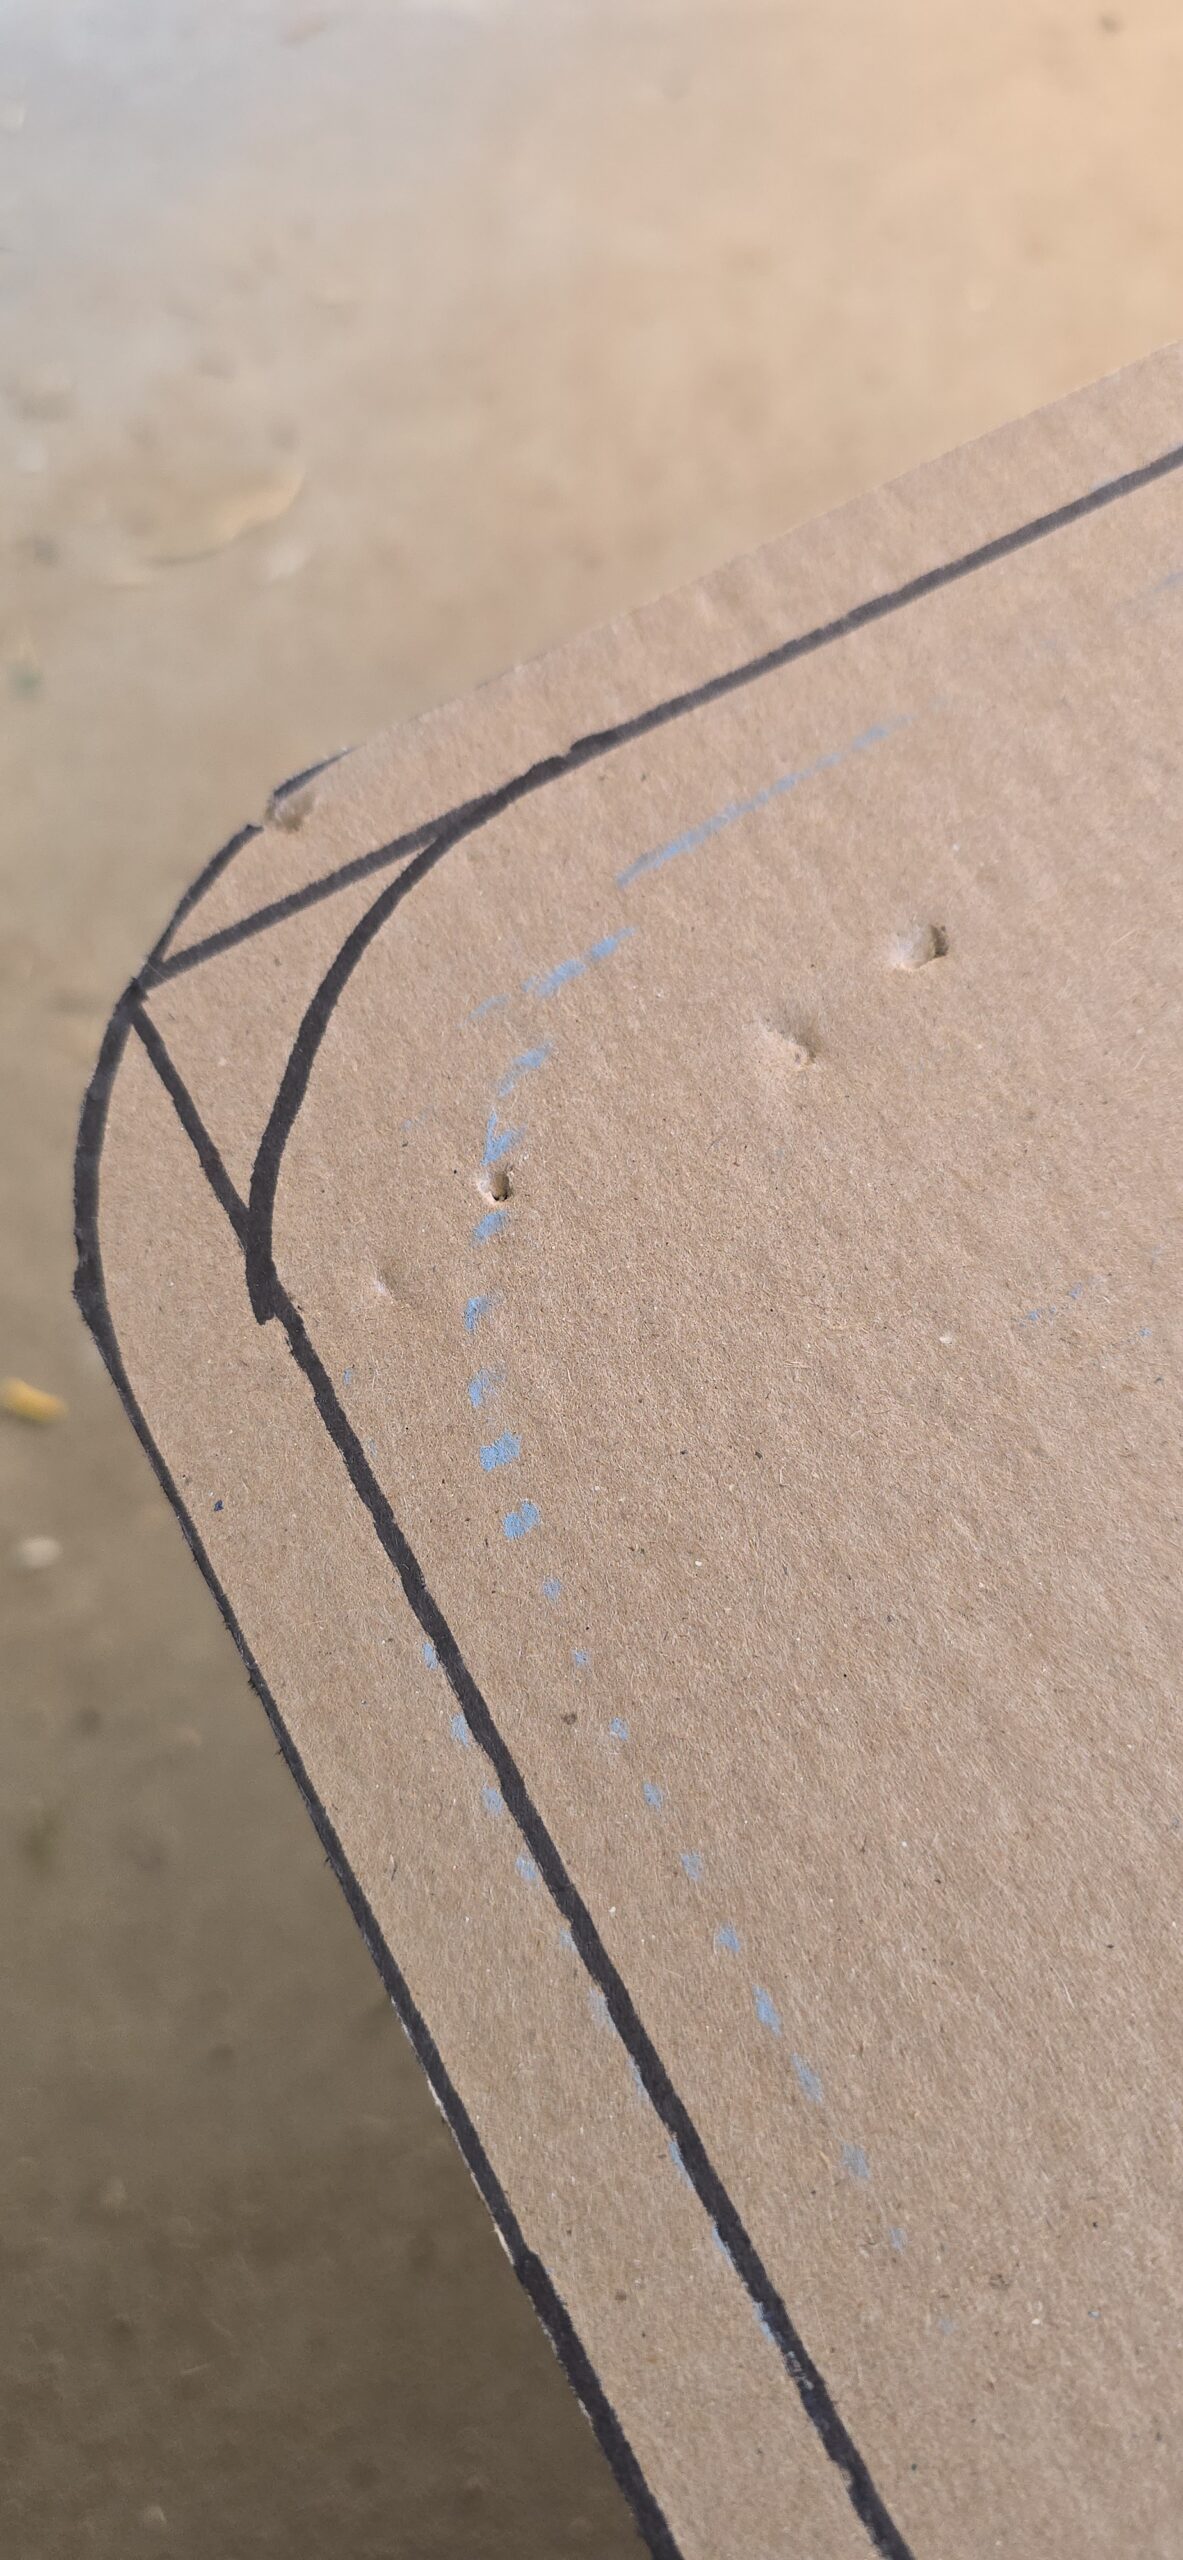
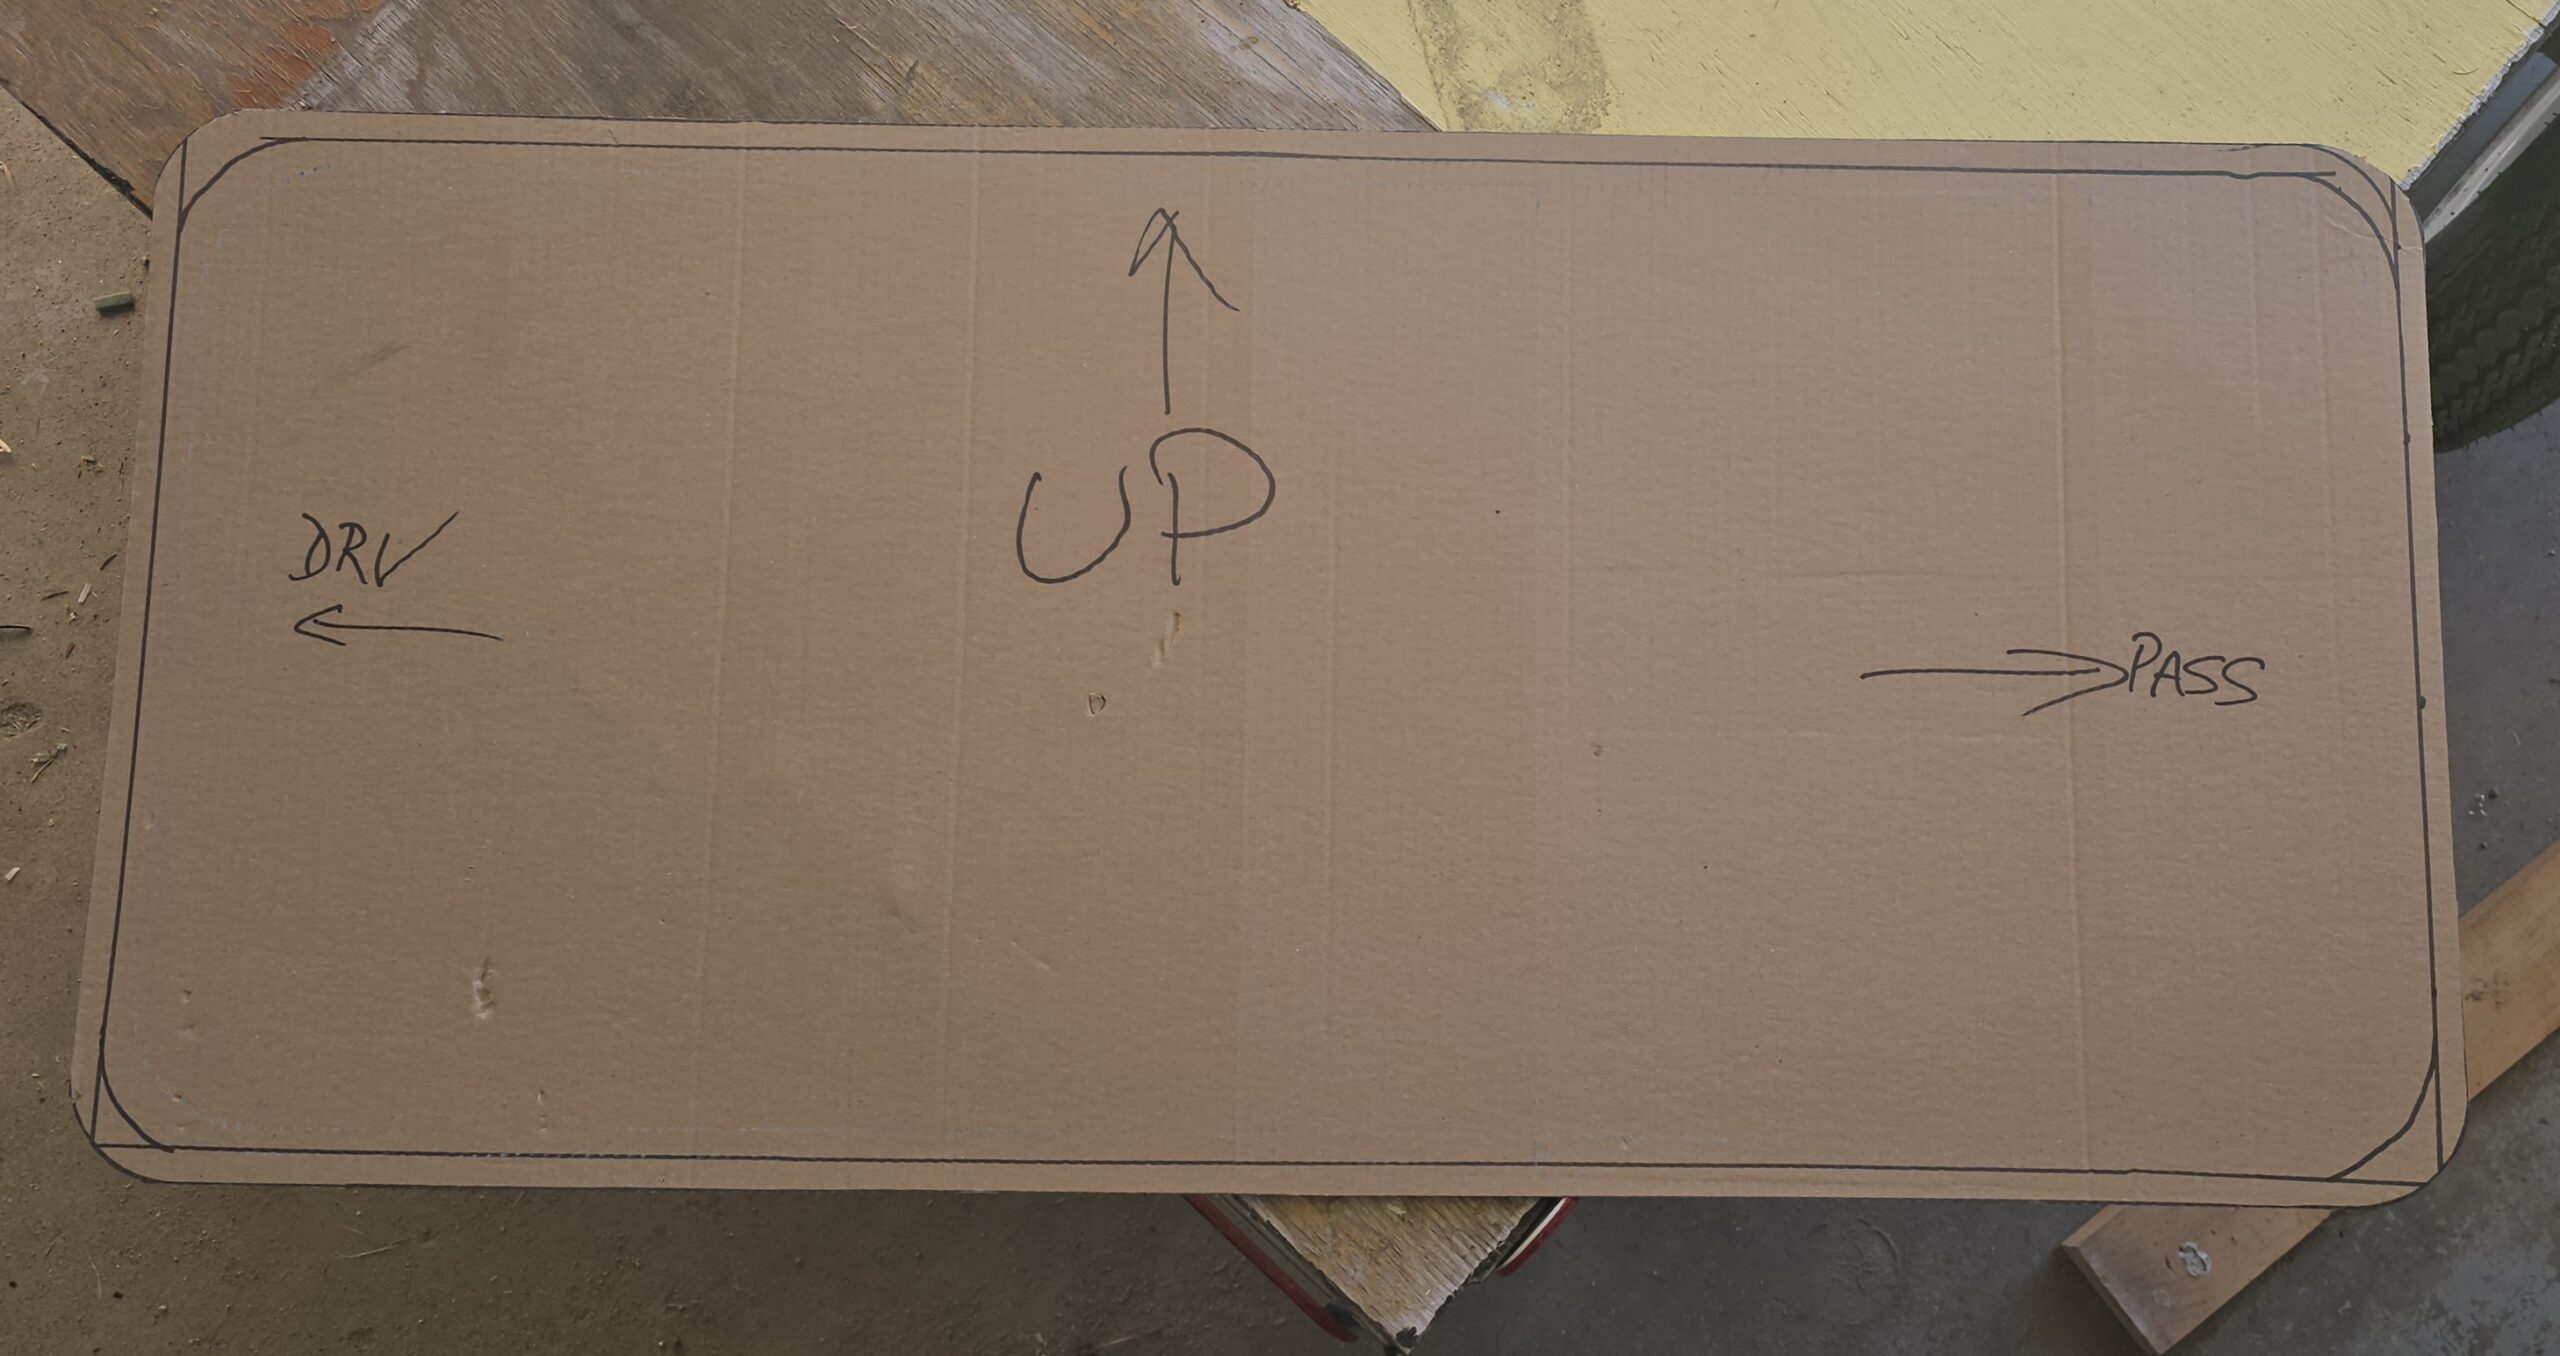
Transferring the shape to the sheet aluminium, I used a sharpie and then carefully cut out the shape with a jig saw and metal blade. Afterwards, I smoothed the edges with a metal file, then again with emery cloth. The result was a nicely rounded edge. Nothing to cut myself on.
I attached the top ‘hooks’ to the inside of the Rock Guard with the top horizontal of the hardware even with the top of the Rock Guard. I didn’t want to have to put something between the window and the guard, so I wanted to make sure it was not touching the window.
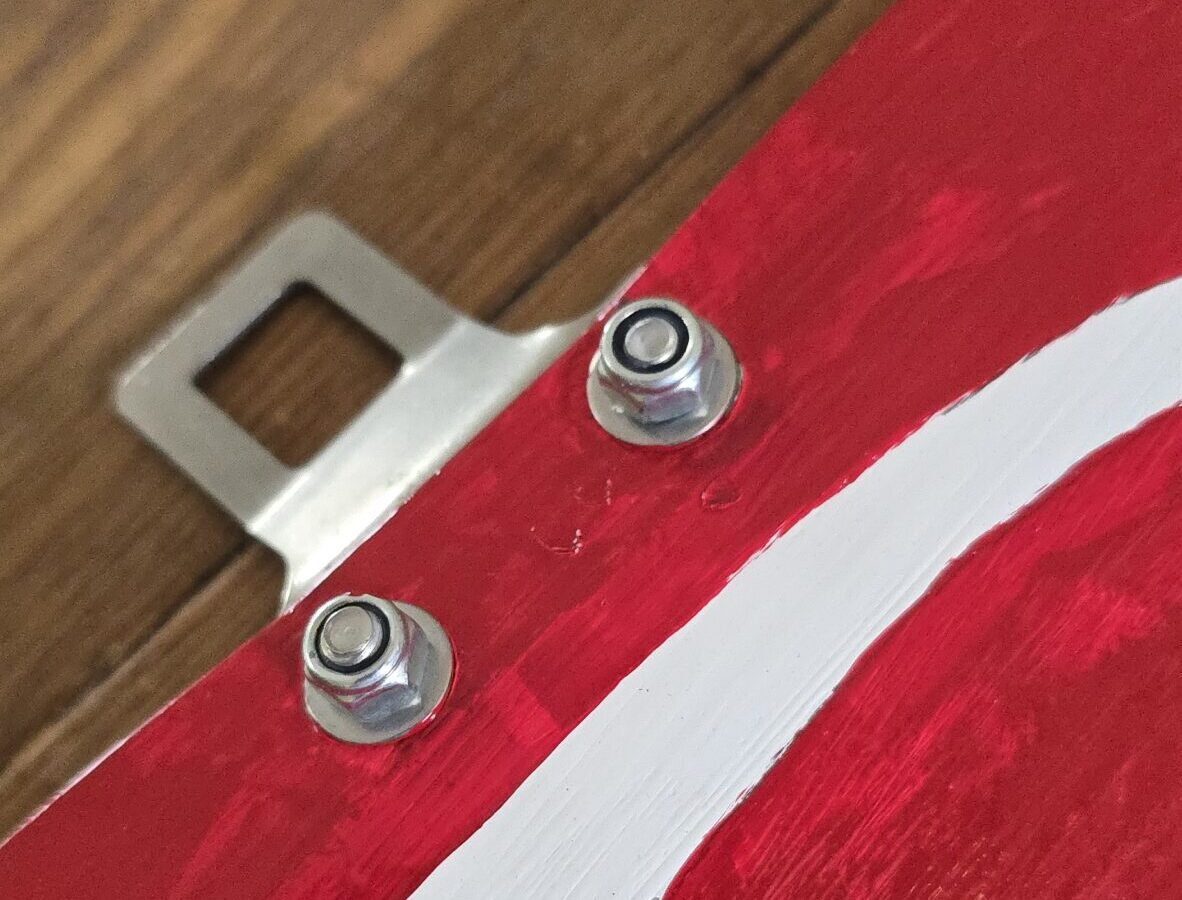
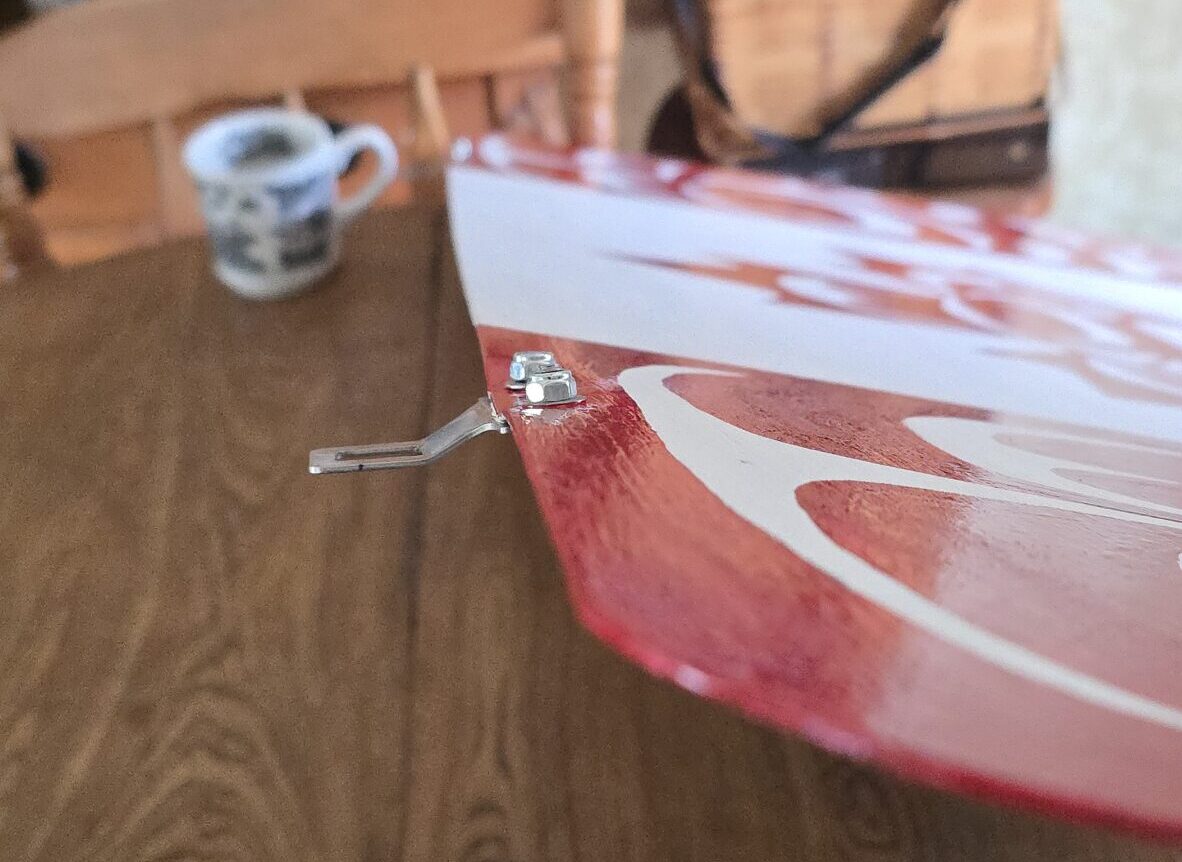
When testing the the Rock Guard against the window, I decided that I needed to bend the the hardware out a little. This was easily achieved with a pair of vice-grips. The angle was just a guess, but could be adjusted in or out the same way.
I attached one upper hook to the boler by drilling a whole through the fibreglass and elephant skin ‘just large enough’ to accommodate the bolt. I test fit, then put some silicone on the back of the hardware, in the hole and on the bolt, then with my trusty assistant, insert the bolts, while she put on the lock washers and nuts. The stainless steel acorn nuts were on backorder.
Once one was installed, I placed the Rock Guard against the trailer again, in he position that I wanted the it and marked where the other side upper hardware should be attached to the boler so I could ensure the brackets, and subsequent Rock Guard, would be level. (Hint, make sure you boler is level first. Mine wasn’t.)
With the Rock Guard hanging on the two upper hooks, I positioned (horizontally) where I wanted the bottom hardware on the Rock Guard.
I attached one of the latches using pop-rivets with the head of the rivet on the inside of the Rock Guard. As mentioned before, I didn’t need a washer.
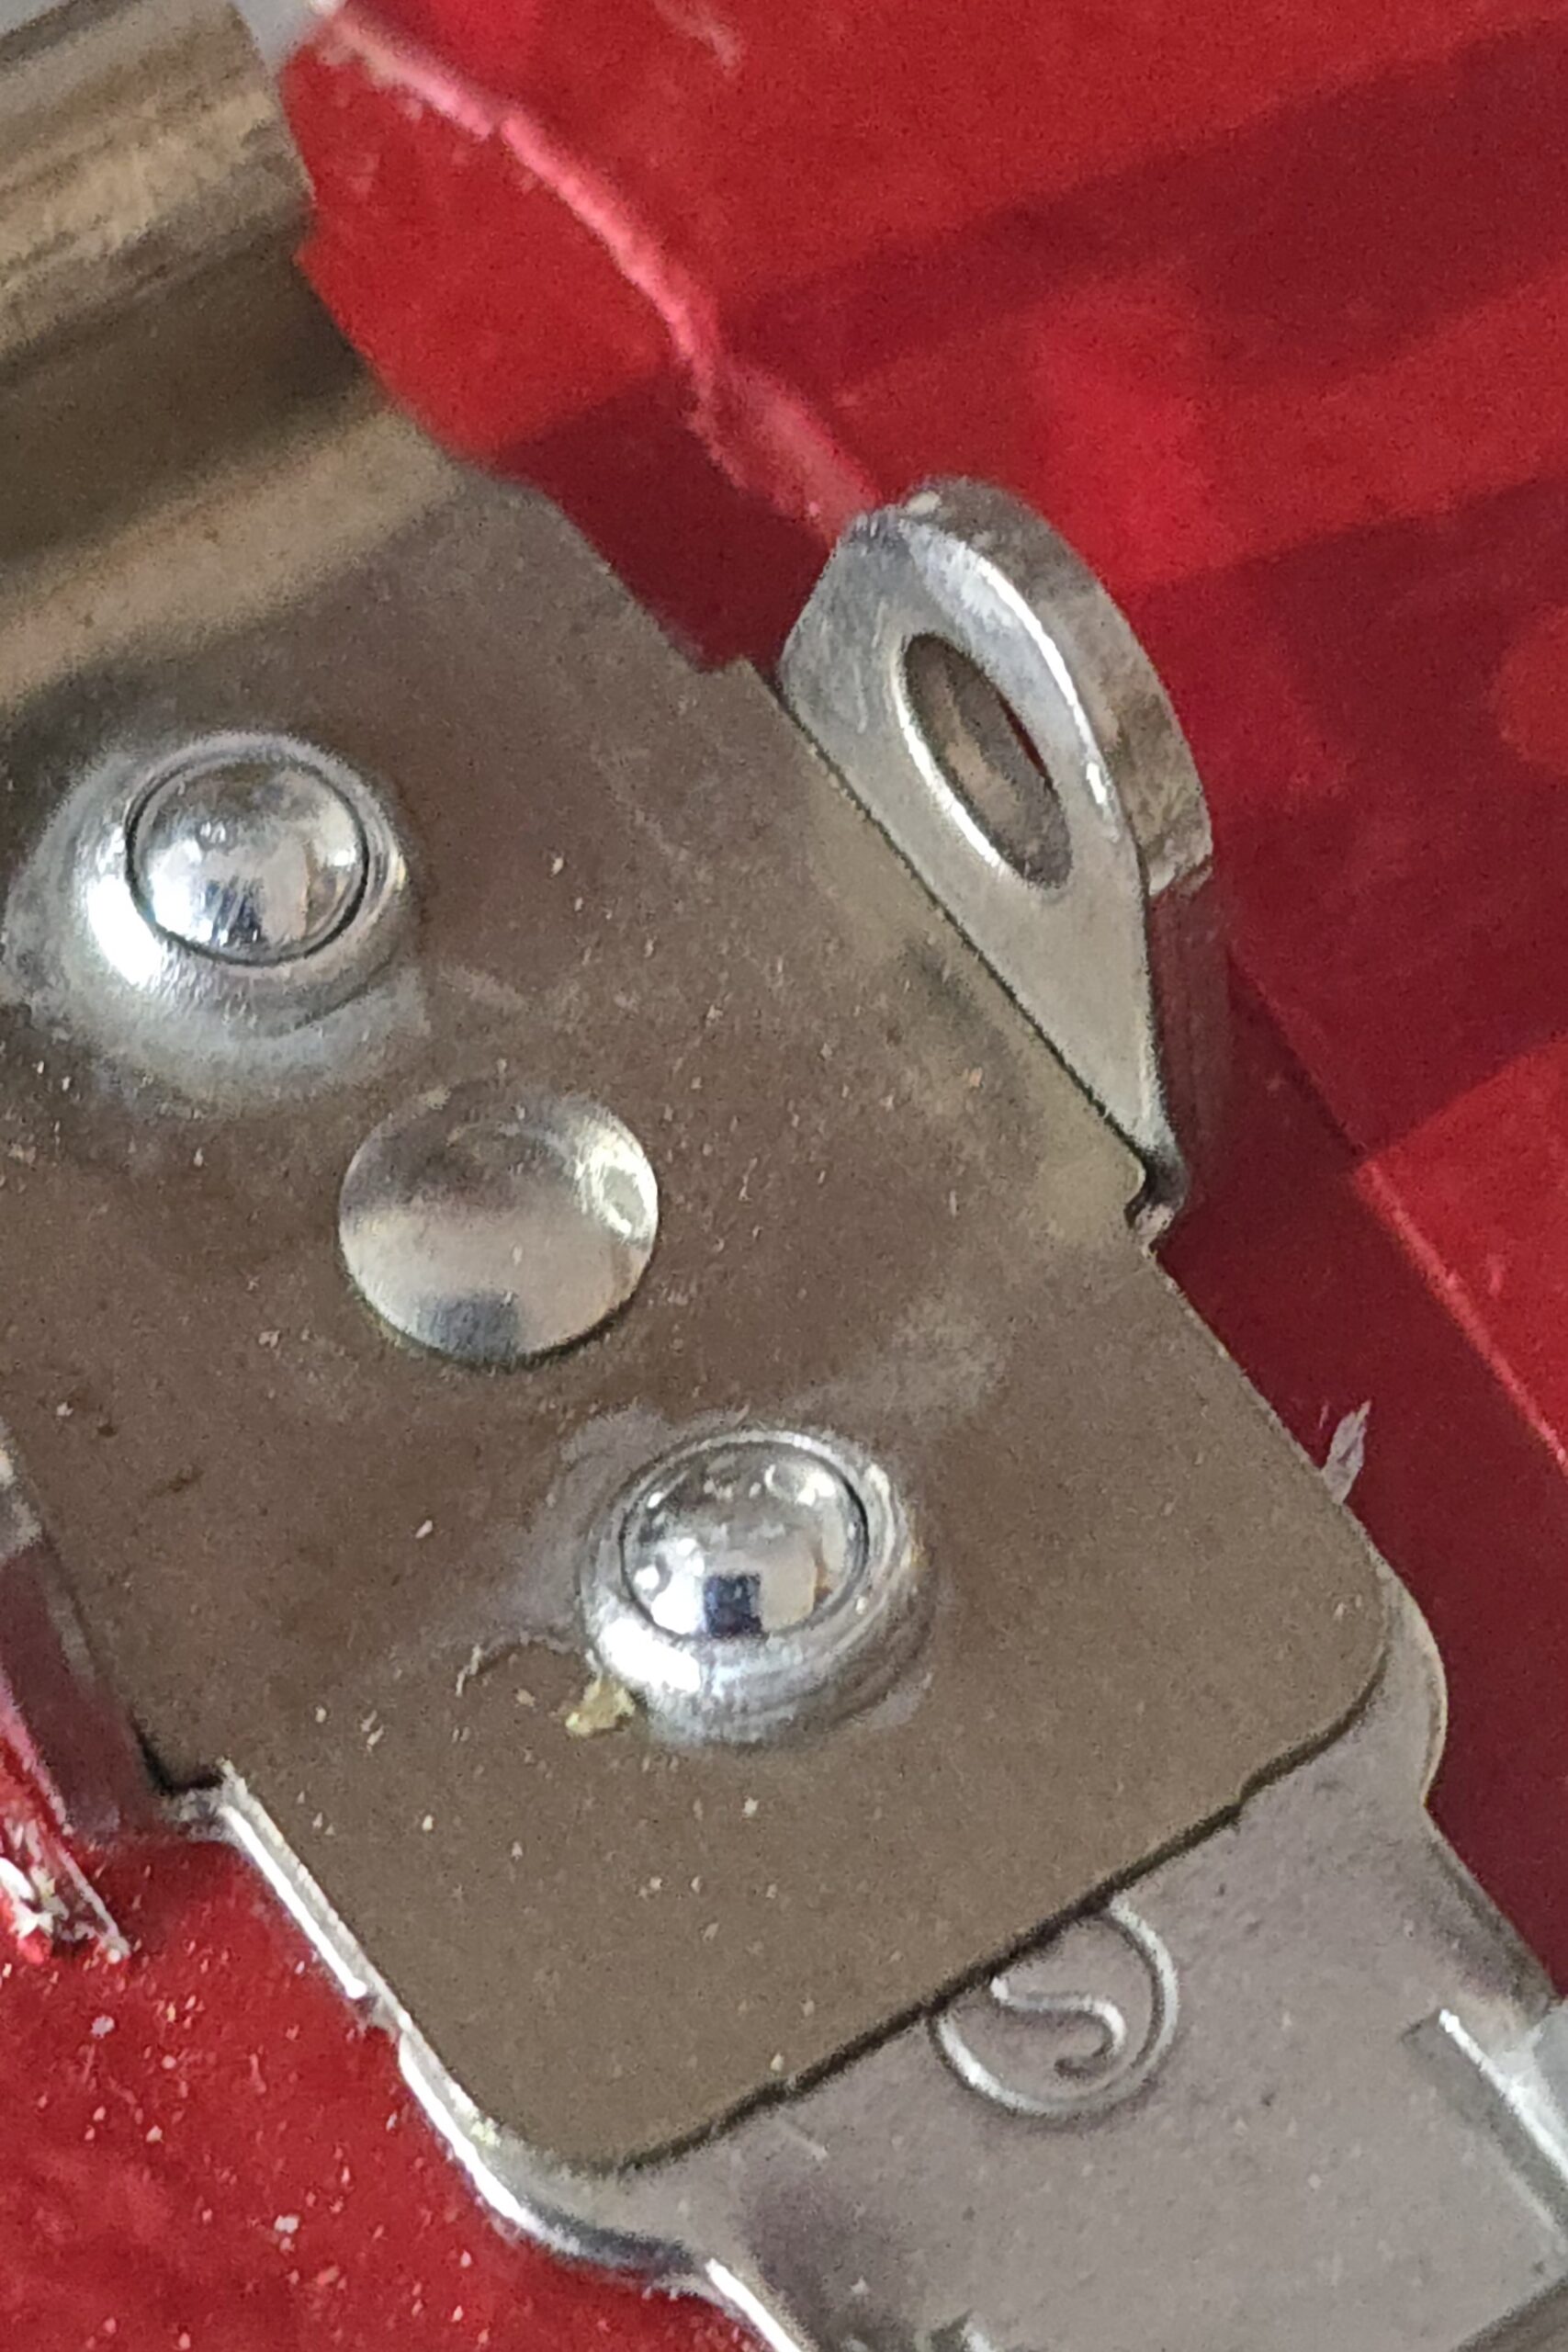
Once again, hanging the Rock Guard on the upper hardware, I opened the latch and measured up from the bottom of the tension wire 0.5” to the centre of the holes in the bottom boler hardware. I figured that 0.5” was more than enough tension and would give me a little play for the other latch, it it wasn’t exactly the same distance vertically.
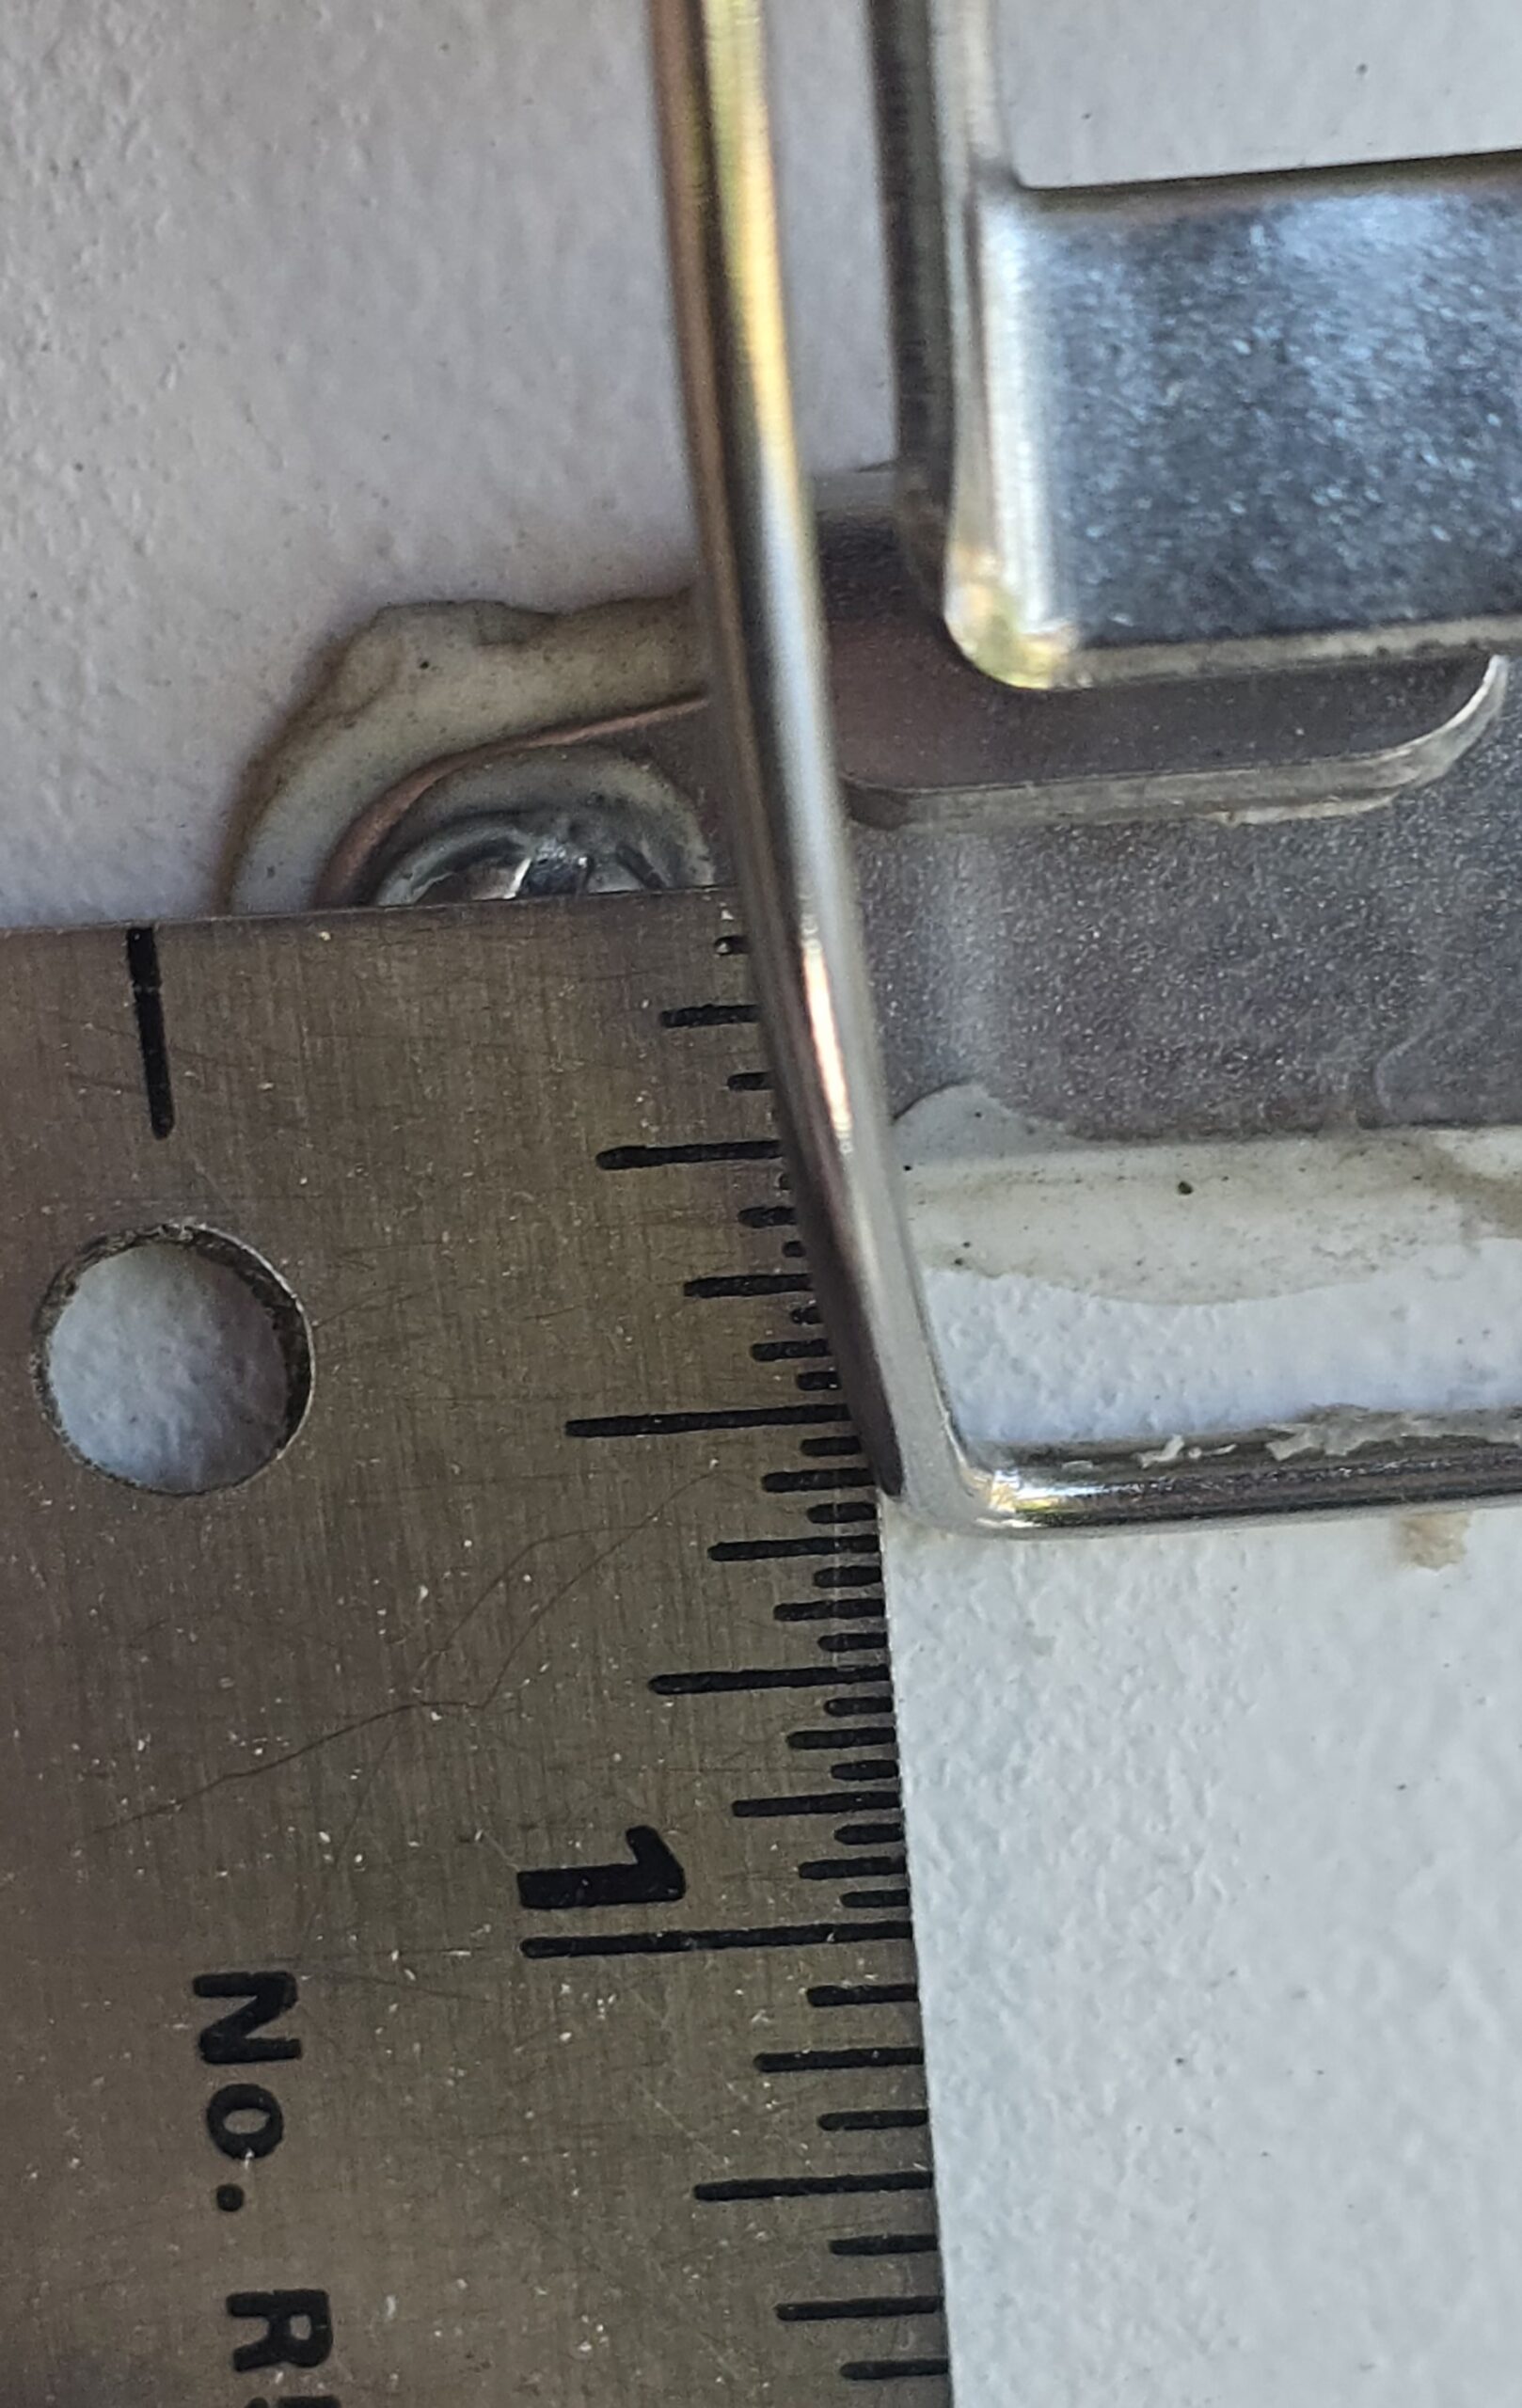
One thing to be careful of here is the wood brace for the bunkbeds on the inside of the boler. I completely forgot about this and almost drilled into them. In hindsight I might have made the Rock Guard a little less tall to stay clear of the brace or at the very least, moved the bottom hardware up on the Rock Guard.
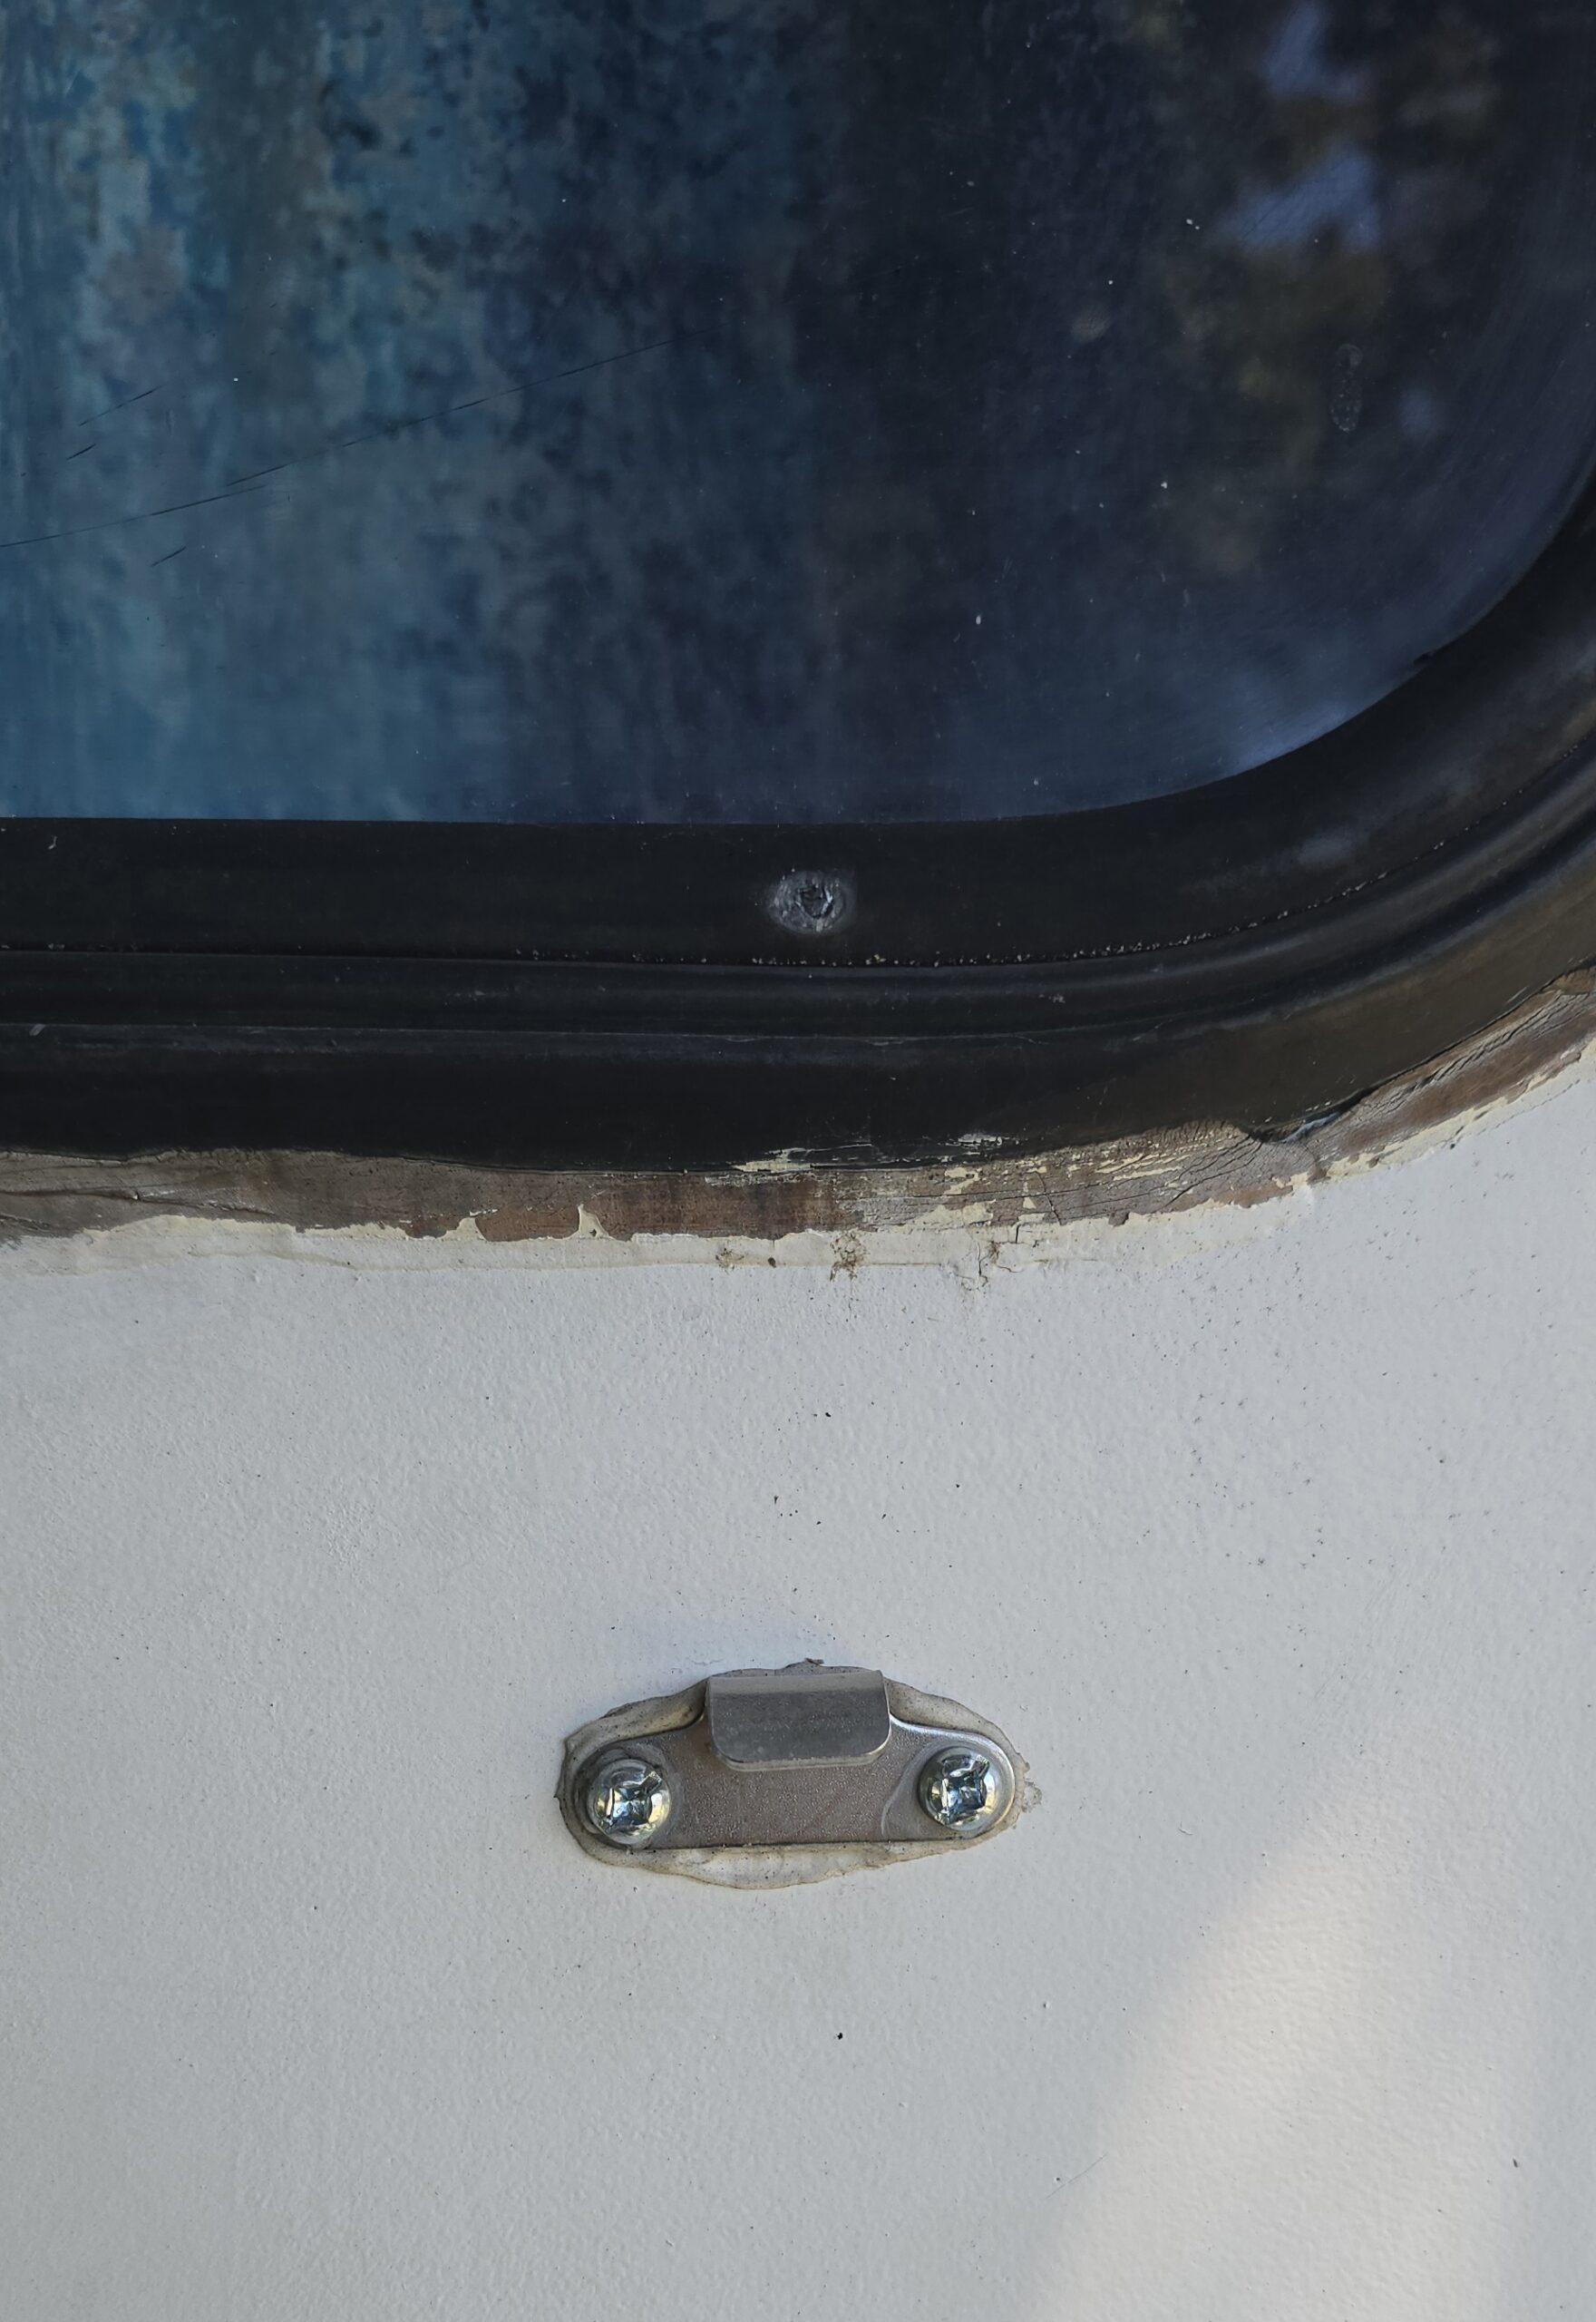
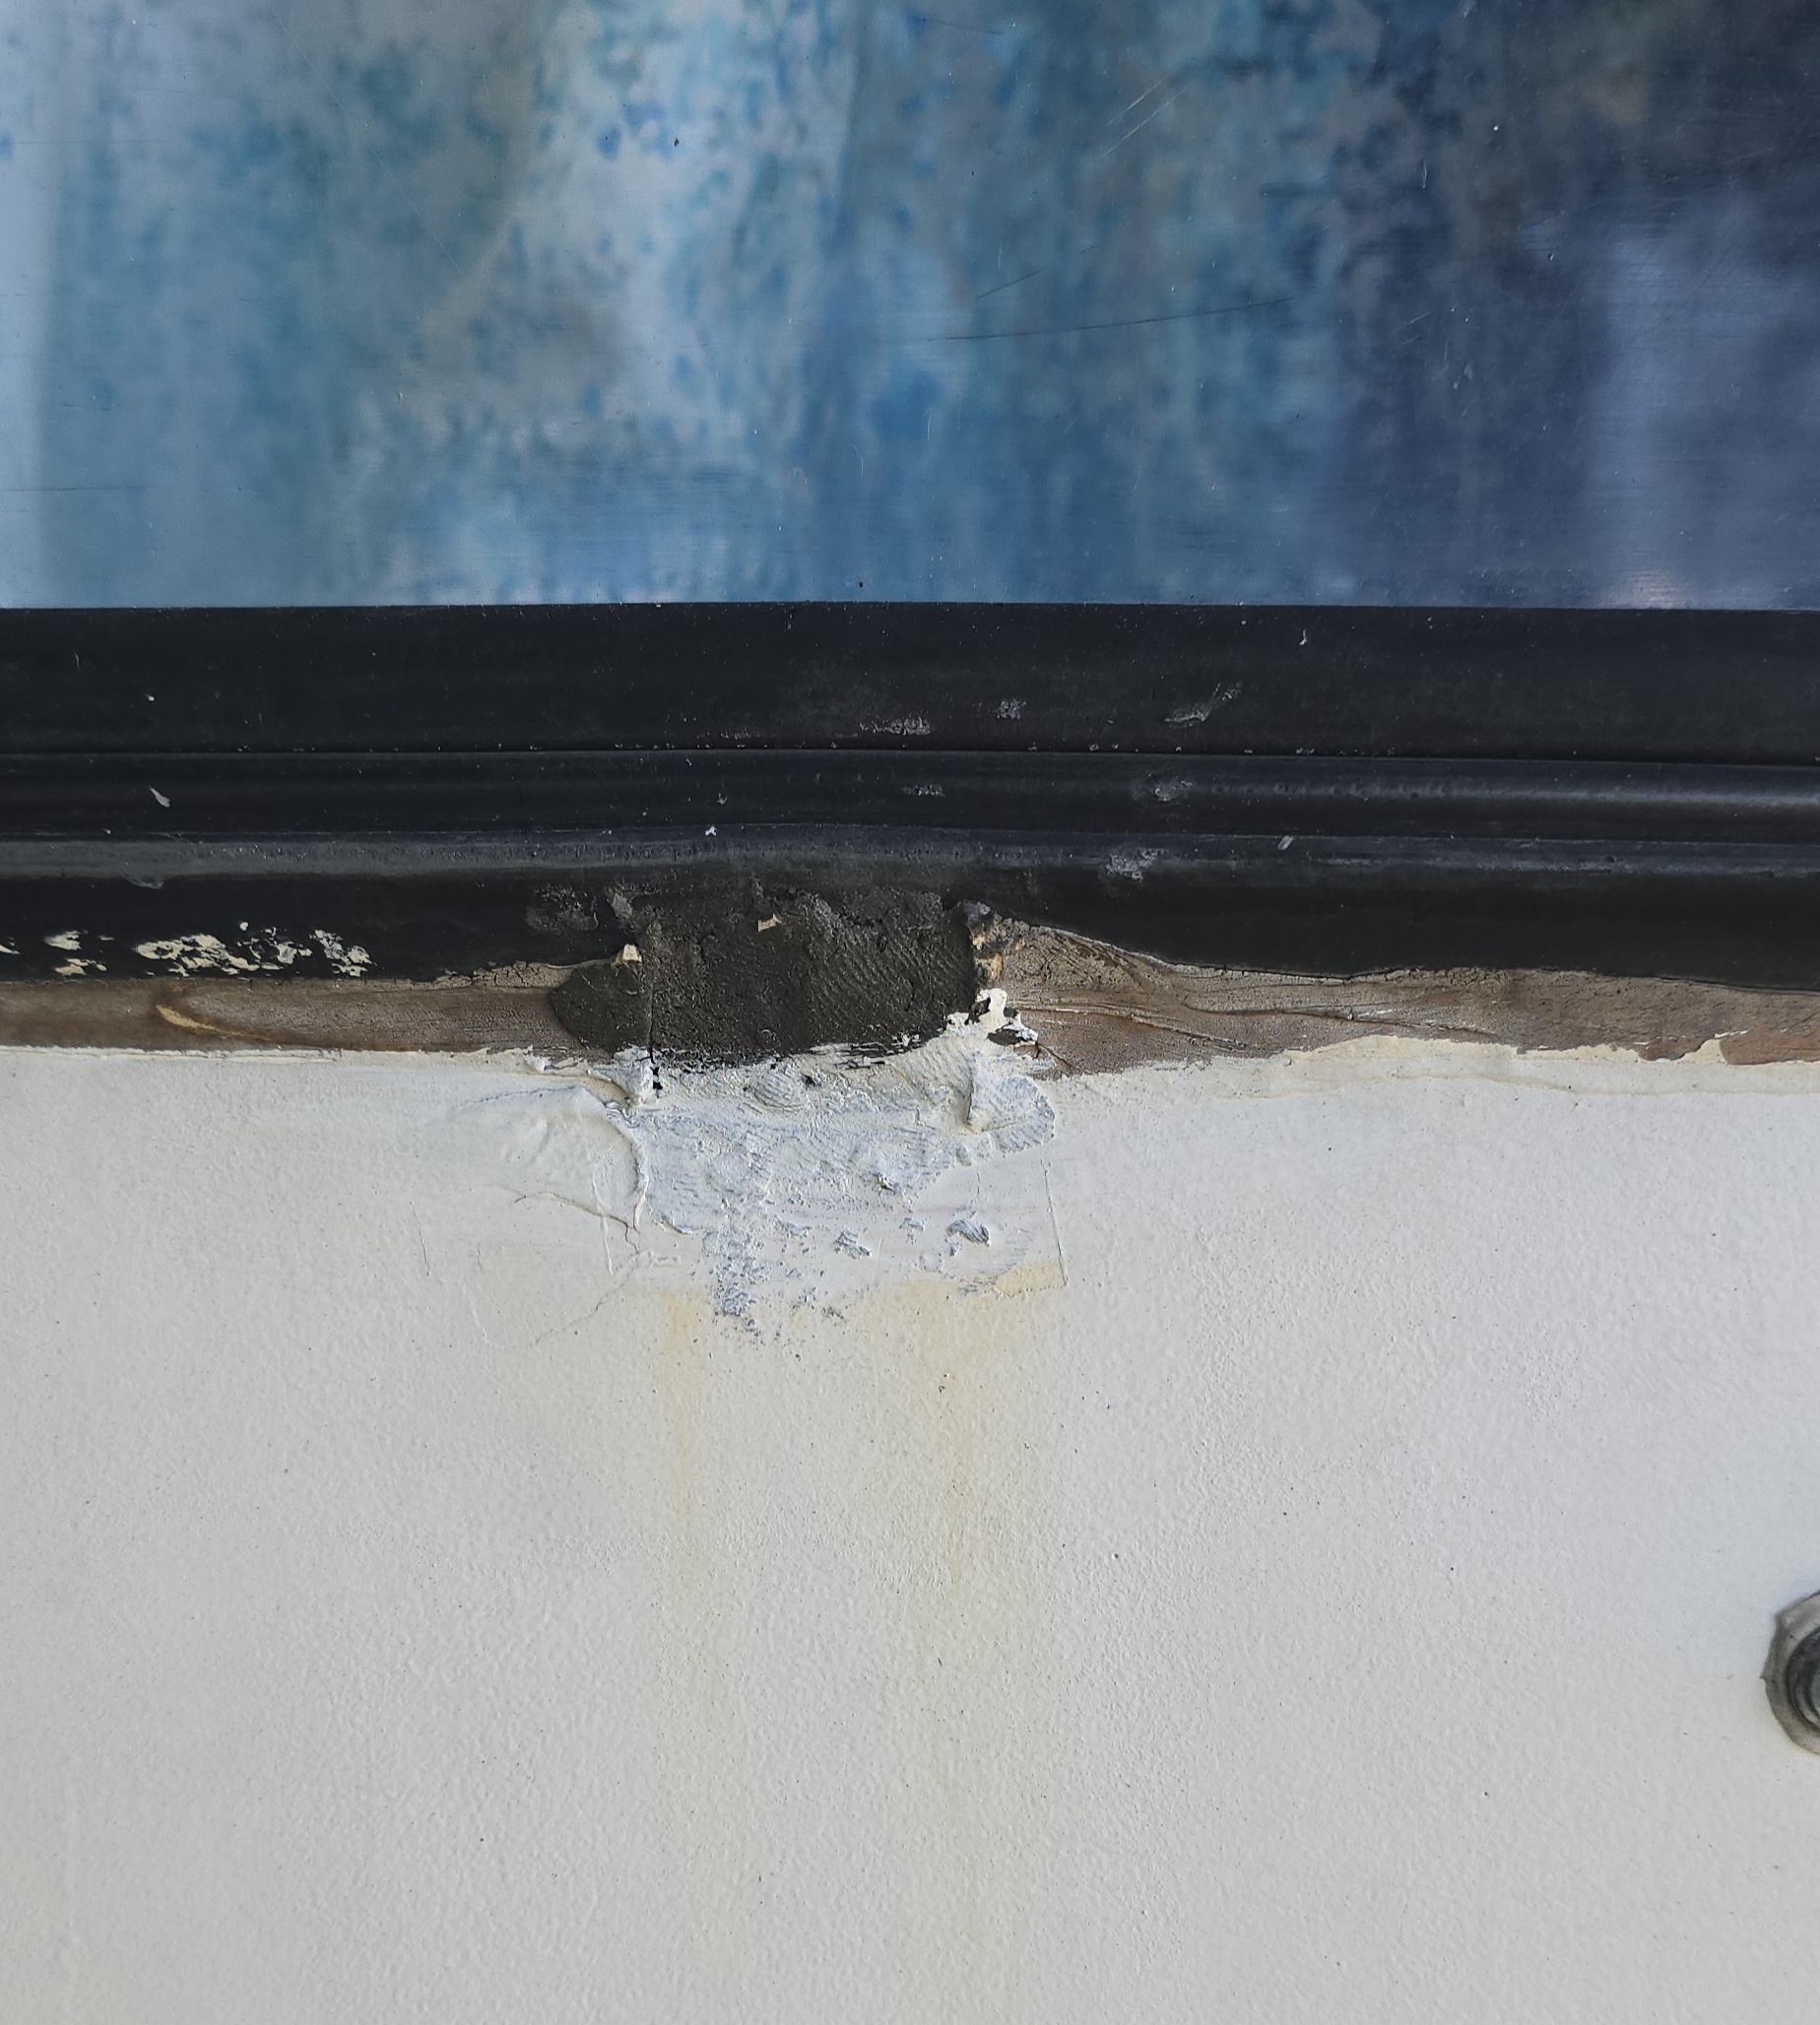
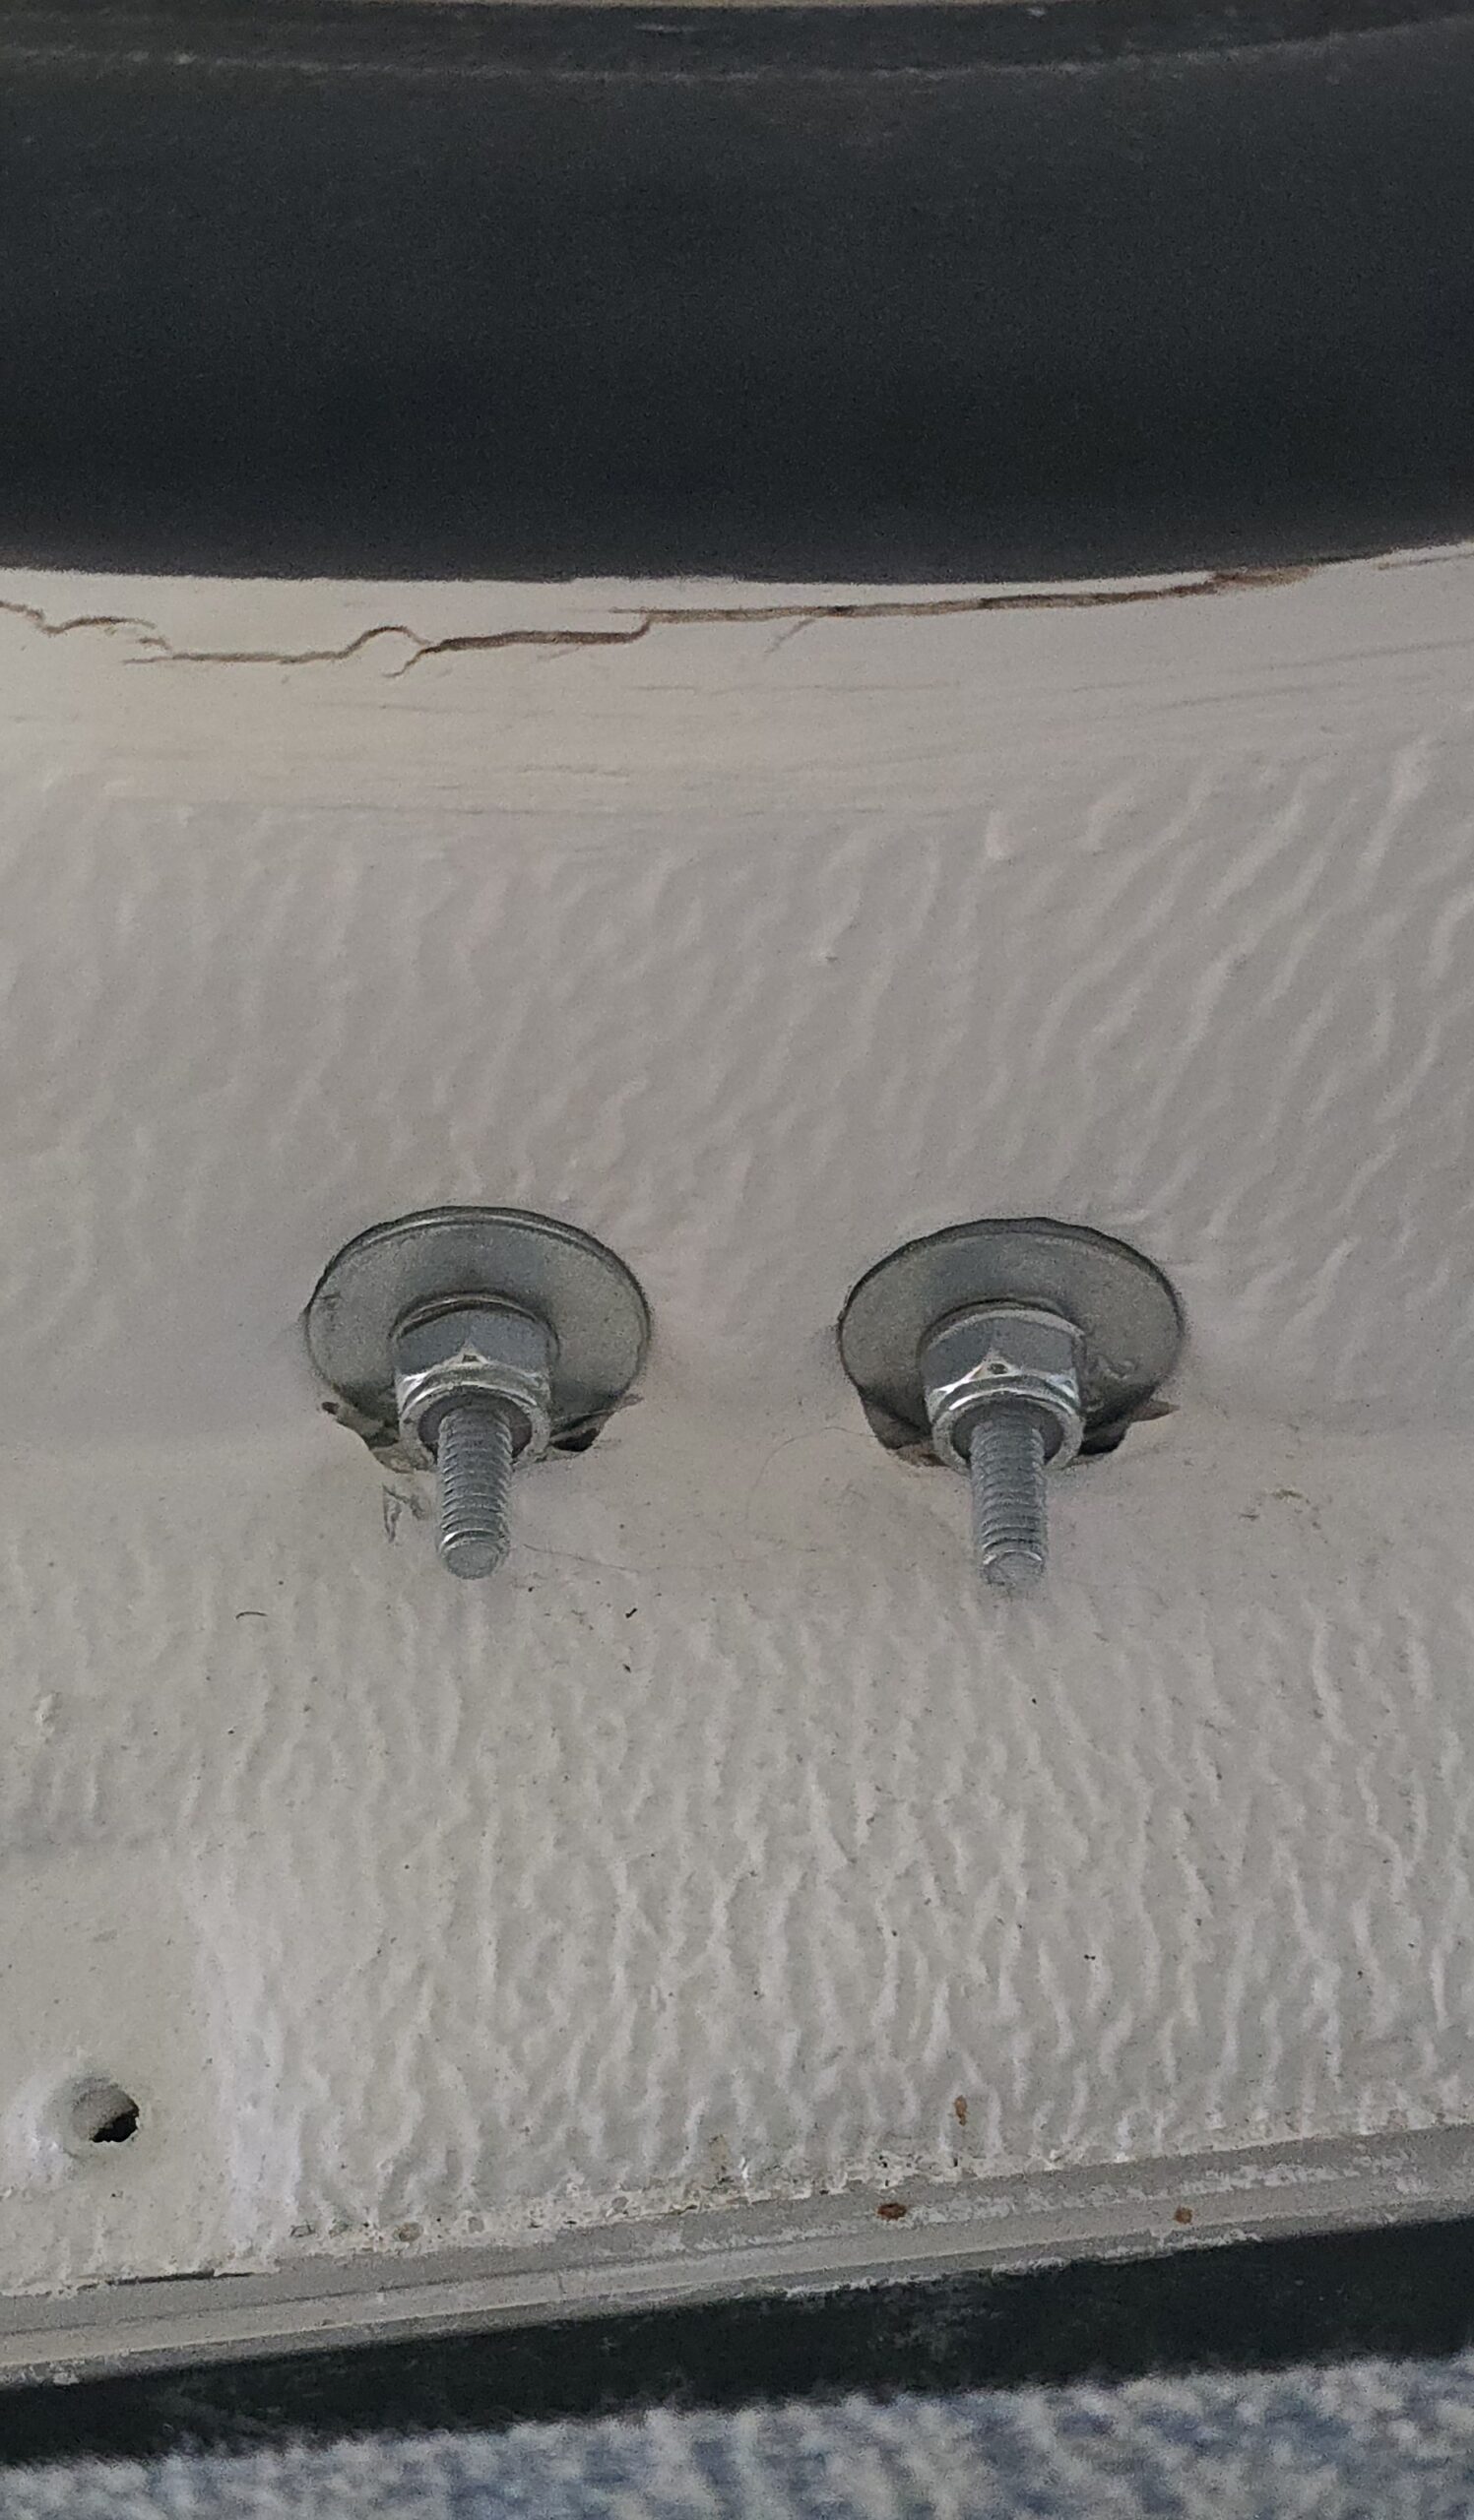
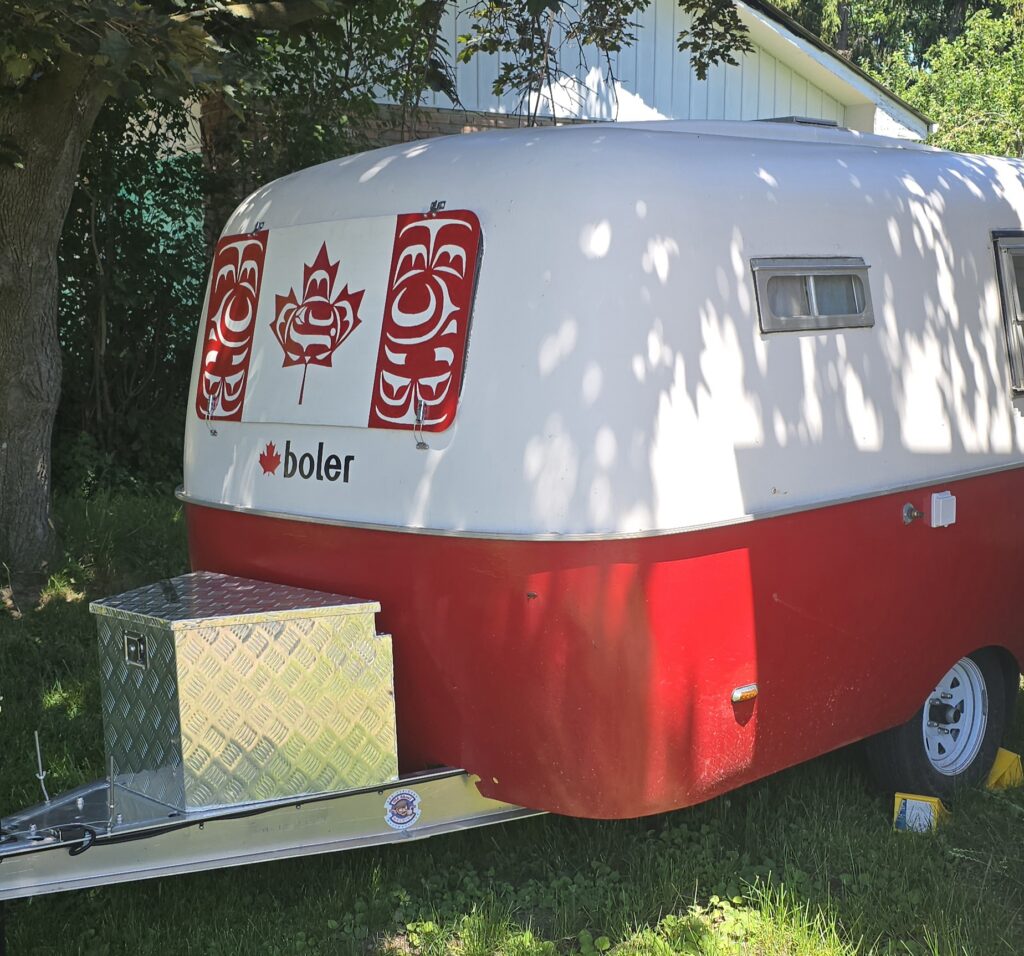
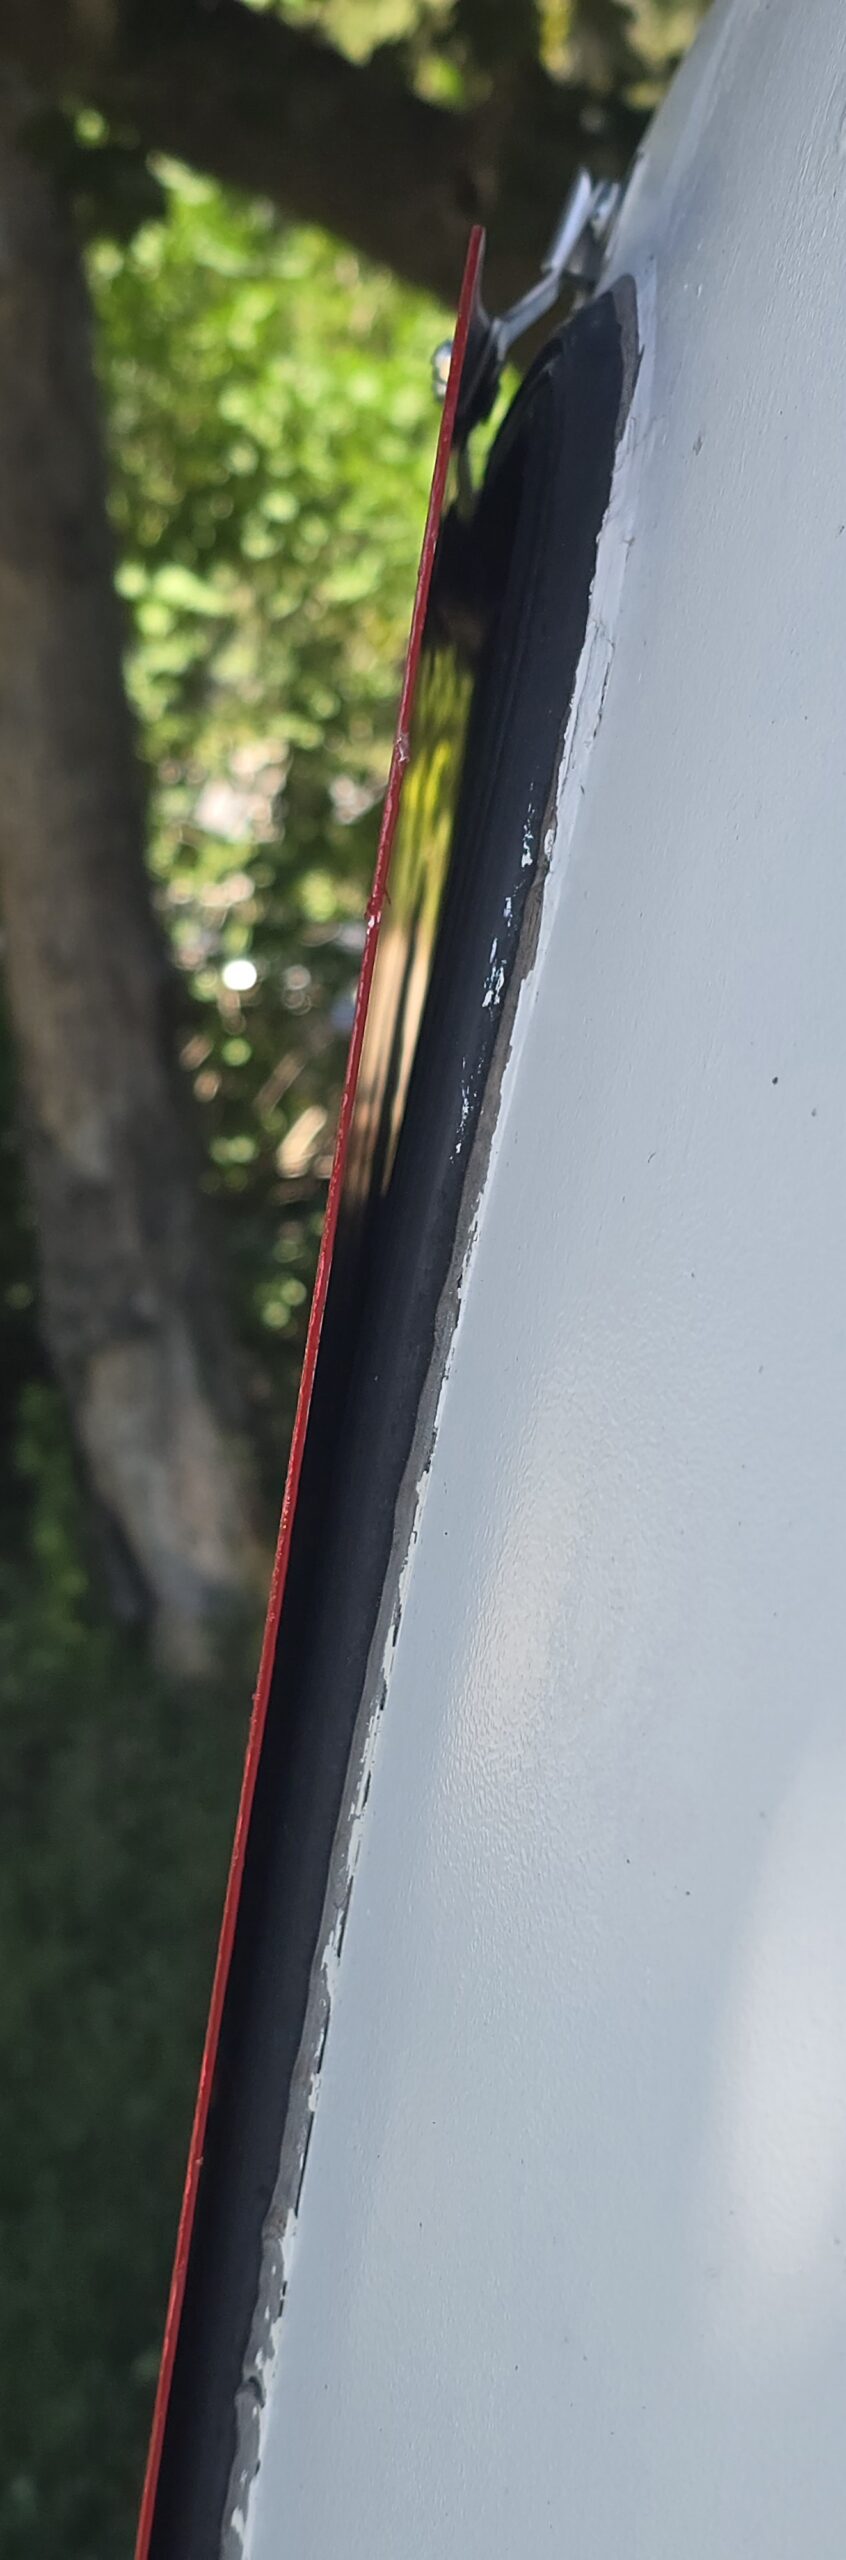
With all he hardware complete, I tested it out. You can see from the side pic, that the Rock Guard is no where near the front window. It is solidly held in place and provides the perfect ‘guard’ against flying debris.
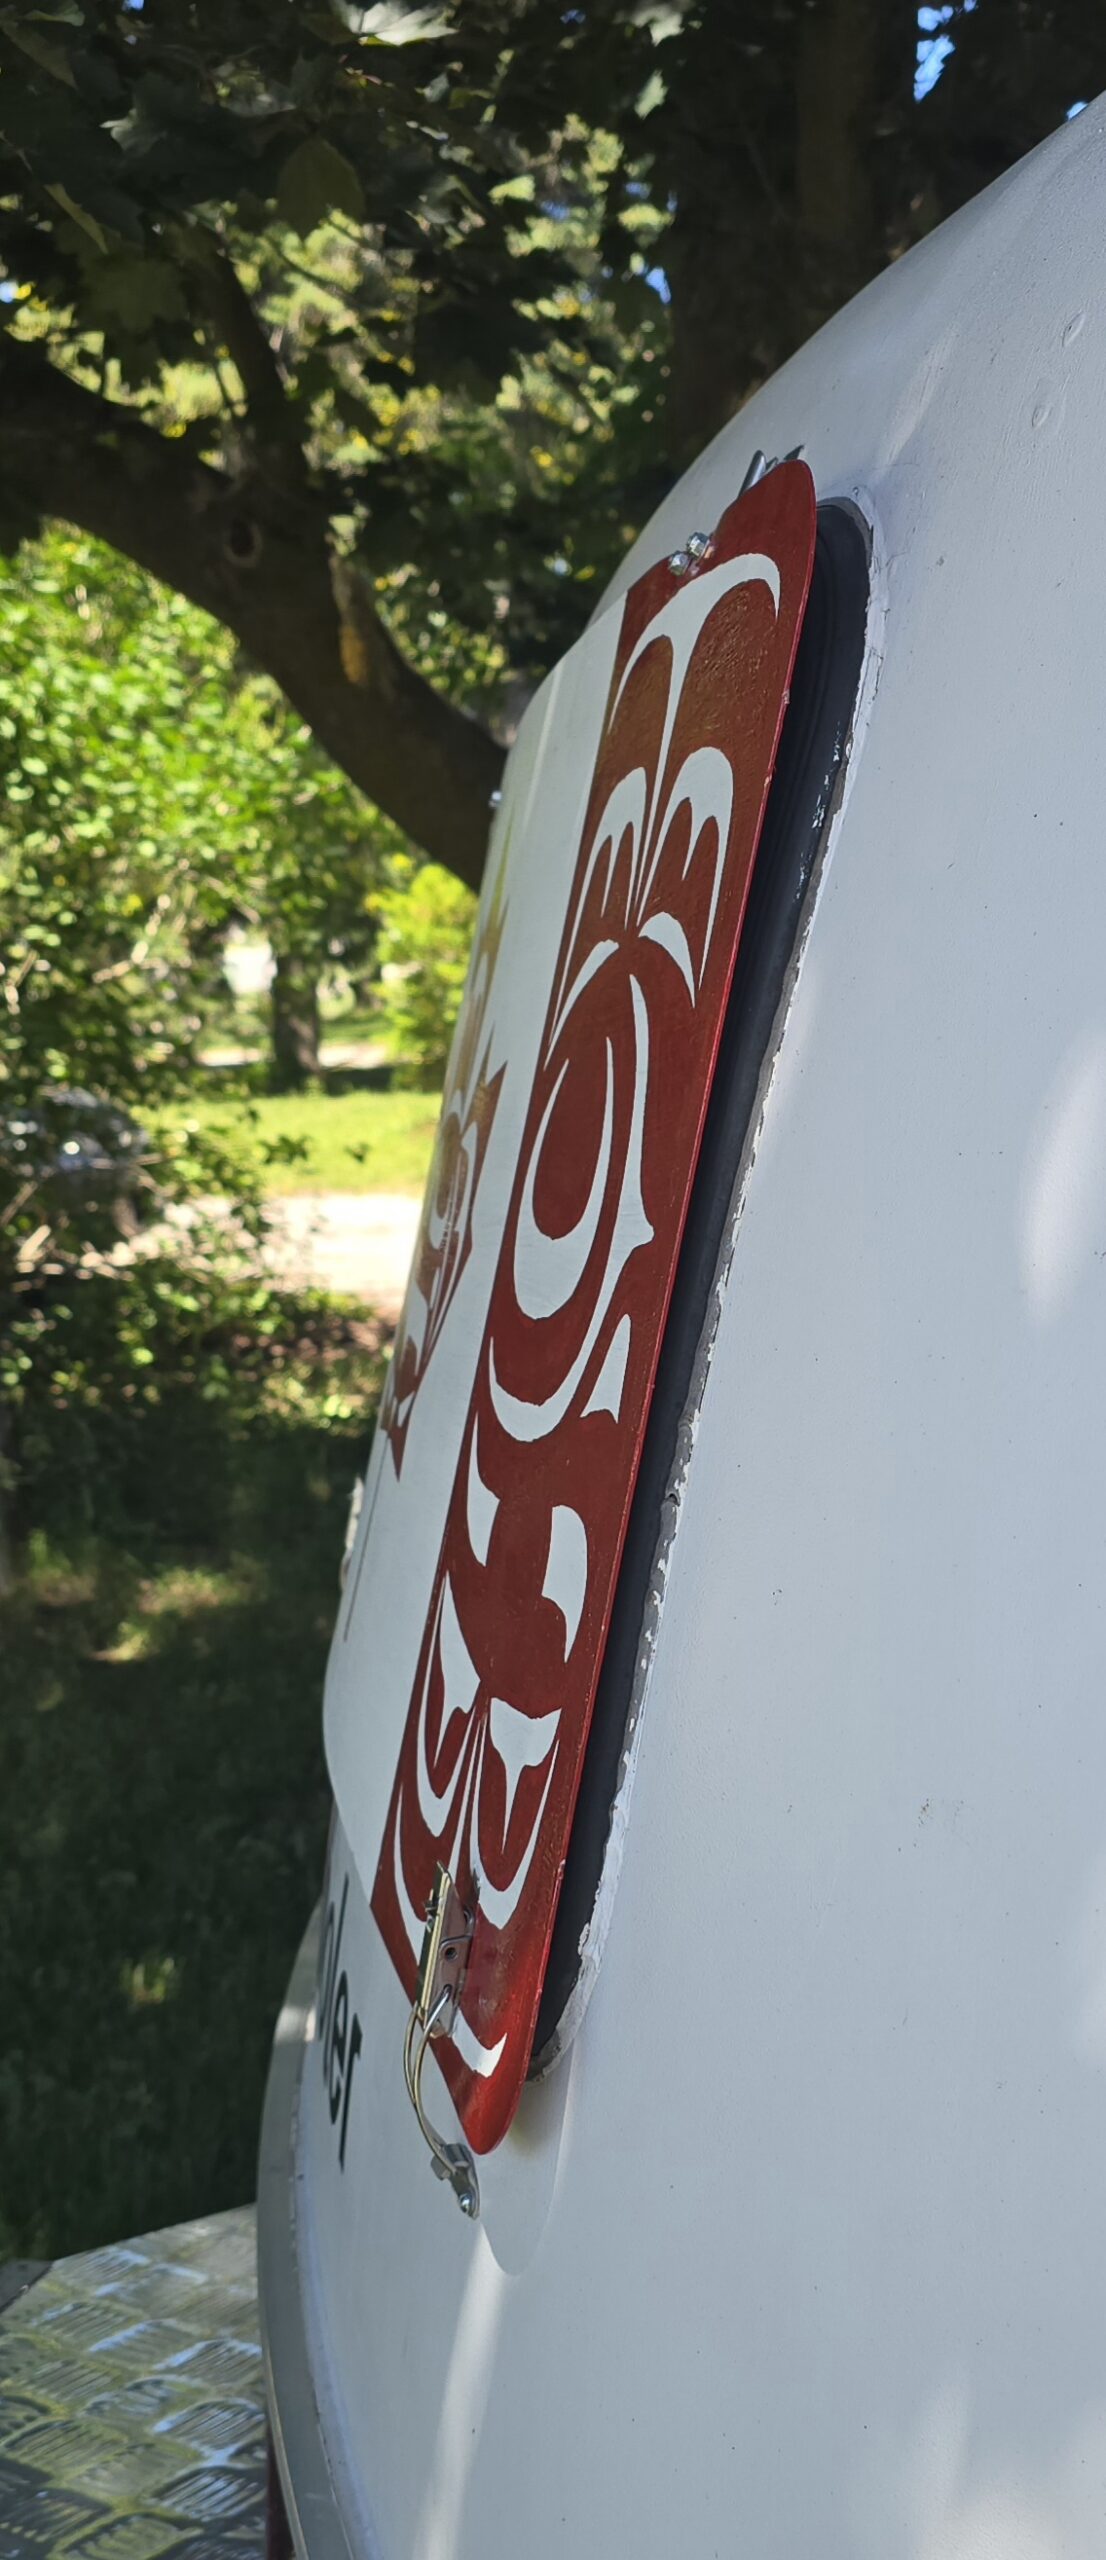
When driving with the Rock Guard in place, I always make sure to tie the lower latches closed through the holes provided with a little Stainless Steel wire. Picture hanging wire is perfect for this. This prevents the hardware from opening unexpectedly and your brand new Rock Guard flying off while driving.
This Rock Guard works great, is light weight and easy to make.
For anyone that’s interested, the design that I painted on our Rock Guard is called the ‘Indigenous Flag.’ It is an unofficial Canadian design by Curtis Wilson of the Wei Wai Kum First Nation who passed away at the age of 39. I contacted his wife, asked permission and offered a donation to his family for the use., believing that all artists deserve to be paid.
Curtis designed the flag with salmon on either side, representing the myriad types of people in Canada, and the Orca whale in the centre. The overall meaning of the flag is unity and reconciliation and ‘standing in support of each other.’ We named our boler ‘chimo.’ Chimo is the Inuktituk greeting for ‘hello,’ ‘goodbye,’ and ‘peace be with you.’ It is similar to ‘ciao’ and ‘aloha.’ It was introduced during Expo ‘67 but never really caught on.
On a Canadian designed and built trailer, it seemed appropriate, besides being a fantastic design.
Chimo!