Teardrop: Finishing the Exterior Sides
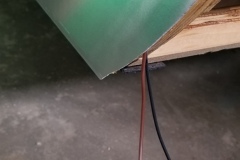
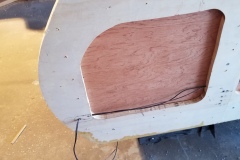
It was time to put the aluminium sides on the trailer and secure them but first I had to secure the wall to the floor (I didn’t trust the little screws that was in the original plan), and cut the holes for the wiring that would exit the aluminium.
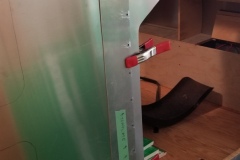
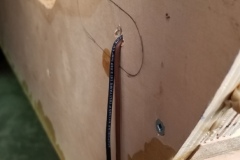
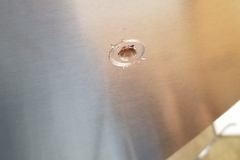
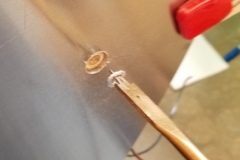
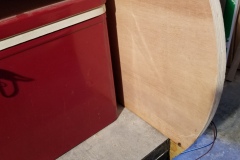
How to ensure that the whole in the aluminum sides matched perfectly with the wood? First I started by putting a couple of screws in the sides to hold them where I wanted without any chance of slipping. Clamps worked great, but they constantly slipped just enough that could cause headaches in this exacting part of the project. Screws was the way to go!
Also, screws would give me something to use to align the wall when it was off and needed to be put back on.
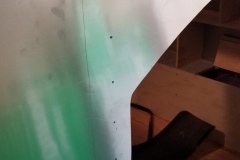
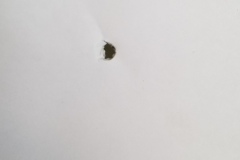
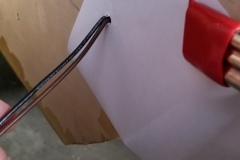
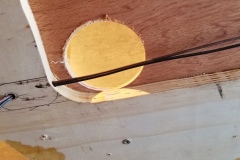
So, that done… how to mark exactly, the location of the wire exits in the aluminium? I thought of measuring… never an exact science! I thought of using magnets… could have worked but I didn’t trust they wouldn’t move, just a little, when pulling the wall away from the wood.
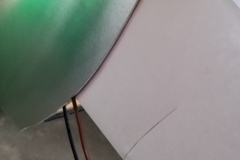
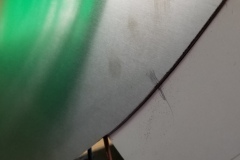
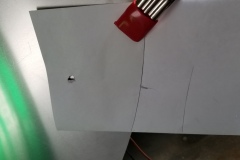
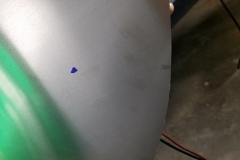
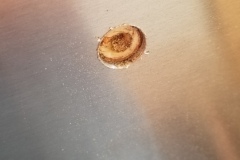
Turns out that my assistant is good for something more than just bringing tea. She suggested the method that I used that is better demonstrated in the photos. As you can see, it worked perfectly.
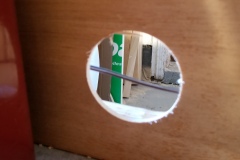
Next I had to cut access holes for the wiring. I don’t trust electrical or lights on a vehicle to never need maintenance and for this I agonized over more than any other part of the build yet. “To glue and screw” the aluminium to the walls, or just screw the heck out of it?
I chose the latter… and I cut interior access holes for any wire that exited the wall. That way I could fix whatever, wherever.
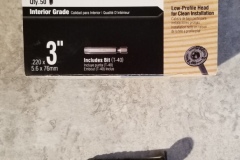
Then I lag bolted the walls to the floor. I’ve seen other people that use regular #8 wood screws, but I didn’t feel this was strong enough. A visit to my local Brafasco store (and for those of you that don’t know them, I highly recommend them. Remember the fastener department from Pascals? This is them on steroids!). They have fasteners you’ve never imagined… just like these lag bolts I used.
I needed something with a low profile head… I had no idea what I’d end up with… but these suckers were it. Not cheap, but I’m confident it’s as strong as I can make it.
That done, it’s ready to screw the walls to the wood. I used 114 screws per sides… that’s a lot of screwing!
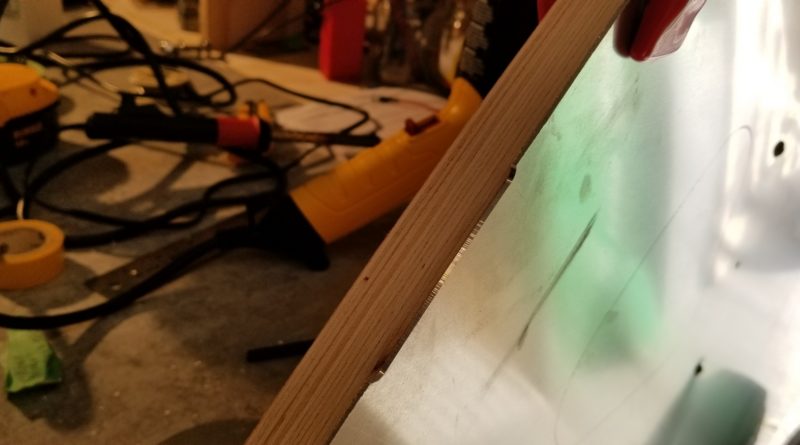
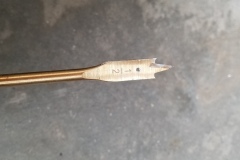
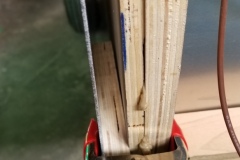
Once that was done, I could router the edges to match the wood profile. I’d read a lot of this process… some people said use a slow speed… some said high speed… and my router could do both so I tried both.
NEVER USE SLOW SPEED TO ROUTER ALUMINIUM! Whole cow! Whoever said that didn’t know what they were talking about. A narrow bit, 1/4″ on as high as the thing will spin is the way to go. You get a mirror finish that looked as if it was milled.
The only glitch I had, was that the bearing came off at the top of the door and ruined the profile of both the wood and the aluminium. Fortunately, I think it’s still salvageable, but I’ll have to give it some thought as to how to hide or diminish it. Other than that, it was one of the easiest parts of the construction and looks fantastic.

