
Teardrop: How Does It Handle?
So close now! Just a few details.
Installing the Hatch Strut
Without a doubt, the most difficult part of this build was installing the hatch struts. I researched it. Purchased the correct ones for the weight of my hatch marked the location according to the formula, but try as I might, I could not get the darn things to work. In hindsight, these things would be among the first of the items that I would buy. This is because the entire design off the hatch is around the length of the closed strut, and even as it was, I had to cut out a piece of the support to get them to fit.
There is no other word for this problem except infuriatingly frustrating. I spend three days testing, trying, moving, thinking. I’d give up and decided that we’d just use wooden supports I’d used all along, but then Sandi pointed out that she couldn’t lift the hatch unassisted. Damn!
You can see the number of test holes I drilled trying to get these things to work. I ended up using 100lb struts, mostly because of the location they had to fit into, they don’t have a lot of purchase. However, at the end of the day, they work great. The holes I made were filled the same way I used to move my ski bindings… take a match-stick, put it in epoxy and lightly hammer it into the hole. The epoxy will seal the hole perfectly and then it’s cut off flush.
On the case of the hatch, I’ll cover the area with veneer so all the holes will magically disappear. On the case of the side wall mounts, well, we’re just not going to look there.
Caulking Everything
The final thing I had to do this year, before taking it for a longer test drive and a weigh in, is caulk the skylight, fan and seams. I have aluminium coloured 100% silicone caulking for this and it was a job I was dreading. Anyone whose done caulking, especially with silicone, knows it goes everywhere and it always leave a film. I opted to research on Mr. YouTube first and discovered a trick. A trick that I’ll never forget and it worked fantastic.
Put your silicone bead down, then spray it with window cleaner. Make sure the cleaner doesn’t have ammonia in it. Then wet your fingers with the same stuff and run your finger down the bead for a nice filet. I was stunned! A perfect bead and nothing on my hands! Let it dry and then peel or whip off any excess. it doesn’t stick to the window cleaner.
You can see in the pics the job it did on the skylight, fan and seams.
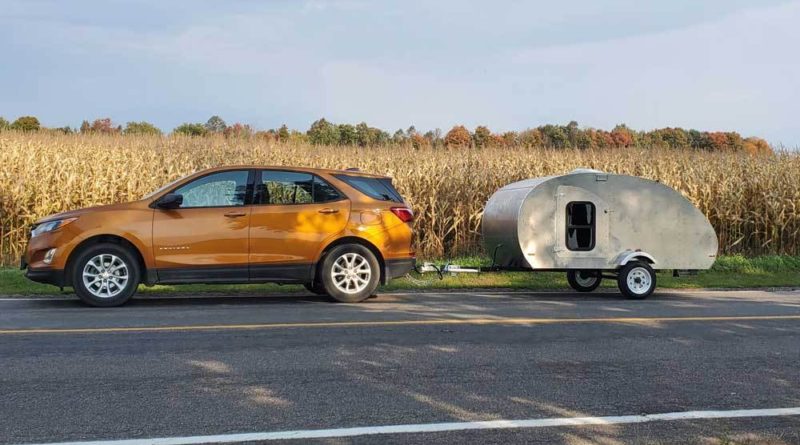
A Real Test Drive Weighing In
Now we’re ready for a test drive. I already knew the tongue weight was 90lbs. How? I put the stand on the bathroom weigh scale.
I drove it about 100 kilometres and it pulled fantastic. Stopping to take some beauty photos, it looks great with the colour of my car. I took it to the dump to get the car and teardrop weighed. I already knew the weight off my vehicle from visiting the dump before.
Without the spare tire, bed or cabinetry in it, it came to a scant 895 lbs. I’d say that was a win, win, win! Very happy with the look, progress and success at keeping it under 1500 lbs.


