Teardrop: Roughing in the Exterior Sides
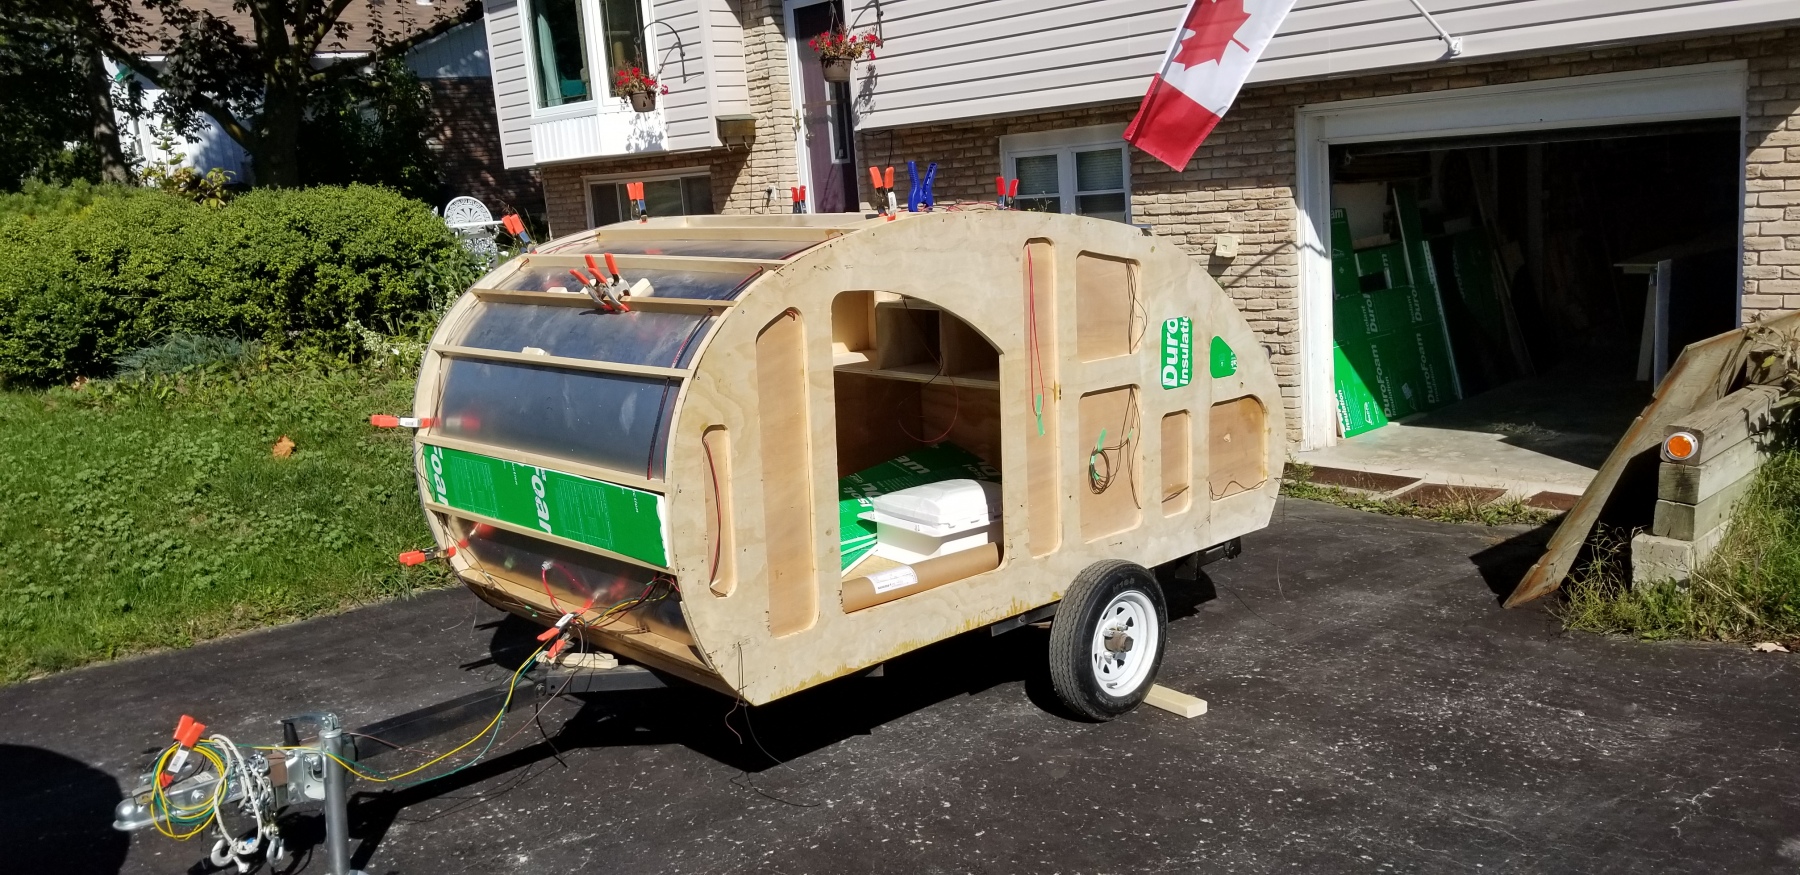
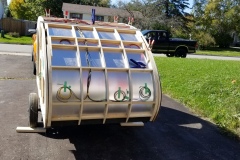
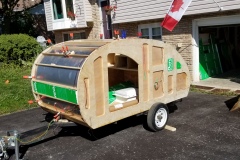
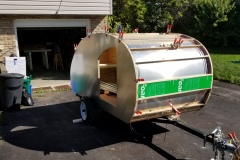
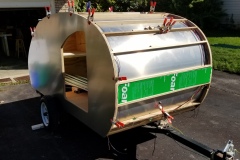
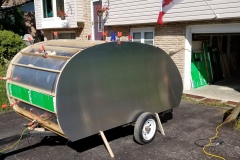
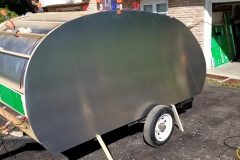
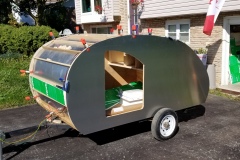
The image on the homepage is the first time the trailer has been out of the garage in over a year. Finally has the sides test fit and held in place with spring clamps, it’s looking pretty good.
With the electrical roughed in I need to start connecting the ends to the fuse block, the grounds to the grounding block, soldering the splices, attaching the electrical elements, and in general, making sure that nothing is going to short out. It’s an interesting little bit of logistics wondering where wires might be exposed to the elements (no where, I hope), and where they might chaff and ultimately short. But first, I need to put some of the insulation in place.
First I had to wait for all the elements to arrive. It’s disappointing how many design elements I wanted to include were just not available in Canada, and therefore had to wait for delivery… but now, I have all the pieces and am ready to go.
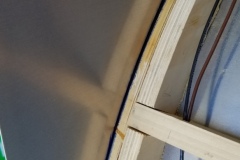
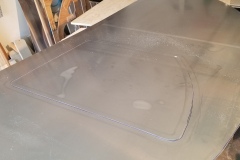
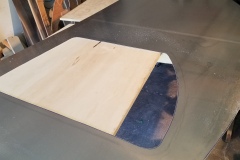
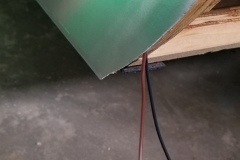
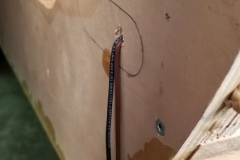
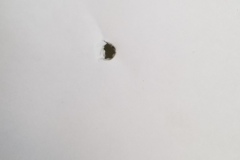
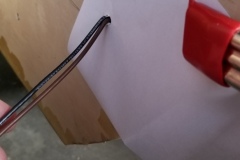
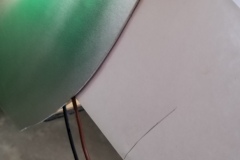
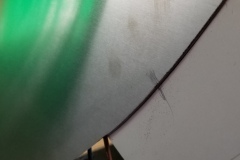
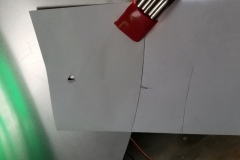
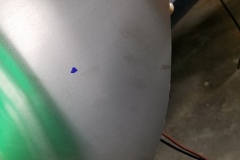
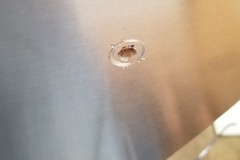
One of the issues I had was that with the wall on, I could now figure out where the wires would exit the aluminium. I was thinking measure, use a level, be careful… problem is, I’ve tried this in the past and you’re just never accurate enough.
Fortunately for me, my trusty side-kick had a much simpler solution… use a piece of paper and trace where the wires are relative to the profile. Hmmm. Why didn’t I think of that? Good thing I married her.
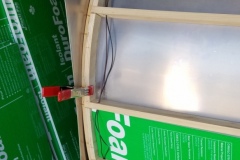
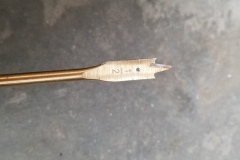
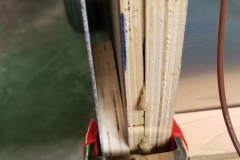
Details are in the accompanying photos.
As an aside, I’m constantly amazed at how easy aluminium is to work with, using simple wood working tools. Previously in the project, I tried smoothing aluminium with the grinder attachments that come with all Dremel tools, but here I decided to try the standard drum wood sanders, and no only did it work, it worked ten times better.

